

How to Create and Manage Device Groups on AirDroid Business?
We have created a YouTube video to help you understand this guide better and faster.
Video Tutorial: How to Create and Manage Device Groups on AirDroid Business(MDM)
Distributing your devices into different groups allows you to take sophisticated actions on specific groups of devices without affecting others. This organization helps streamline device management and ensures that tasks are executed only on the intended devices. It will significantly increase the efficiency and accuracy of operation management.
In this article, we will explain the relationship between the multiple layers of groups and walk you through the process of creating and managing device groups.
1Group layers and relationships
Before you create and manage Device Groups, there's something you have to know.
Groups are mainly divided into Parent Group and Subgroup.
You can design your own grouping method according to your own business needs. For example, you can group devices according to the functions, members & permissions, regions, departments, permissions of apps and other dimensions.
1Group types
Parent Group
A Parent Group is located at a higher level in the hierarchy.
Parent groups are typically used to represent larger device categories, such as different regions or departments.
Subgroup
A Subgroup is located at a lower level in the hierarchy and is associated with a Parent Group. Any action intended for a Parent Group will cascade to all its subgroups.
Subgroups are typically used to represent more detailed device categories, such as devices within a specific region or department.
2Groups Relationships
You can create as many parent groups as you want, and each parent group can have up to 5 sub-levels.
There is always one parent group named "Default", which cannot be deleted. During enrollment, devices are automatically added to this group unless specified through Provisioning Templates or Device List.

2Step to create and manage devices groups
To create and manage device groups, please follow the steps below:
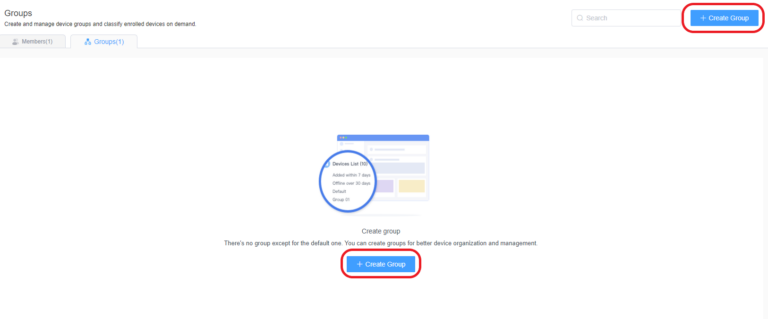
- Step 1Access the Groups Tab
- There are two ways to access the Groups Tab:
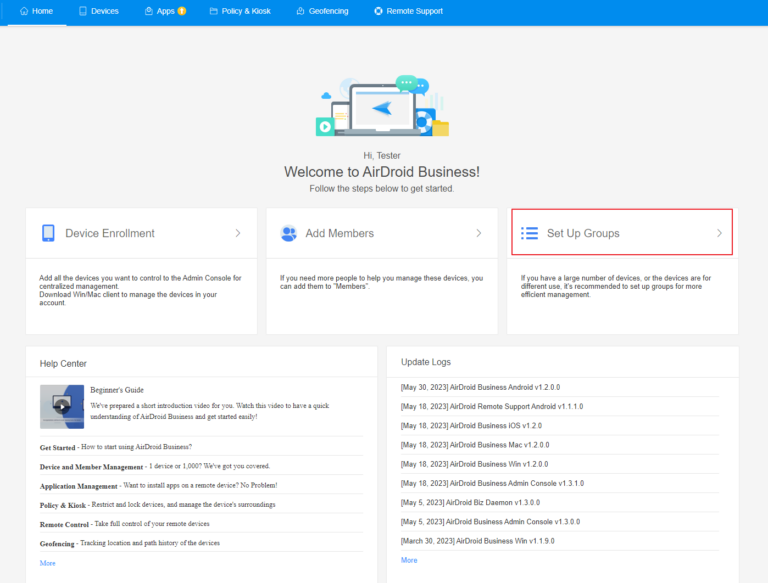
- 1. Go to Admin Console >Click Set up Groups on the Home page
- 2. Go to Admin Console > Choose Devices tab>Click Members & Groups>Switch to Groups tab

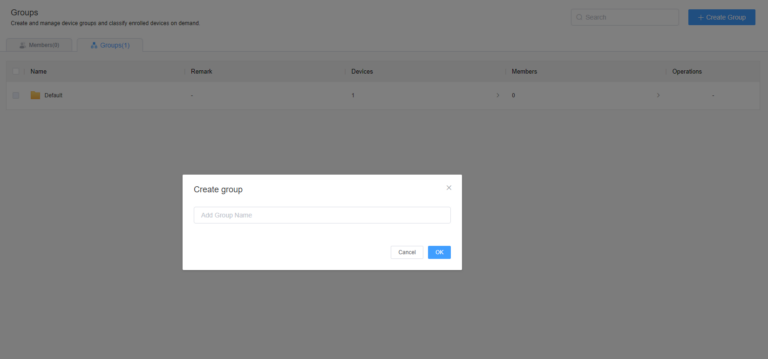
- Step 2Create a Group
- Click +Create Group, enter the group name to create a group.
- Step 3Create Subgroups (Optional)
- After a group is created, you can create a Sub Group by clicking the + icon.
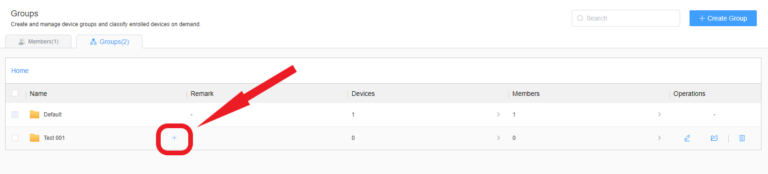
Please check this article regarding if your current plan includes the multi-layer grouping function.
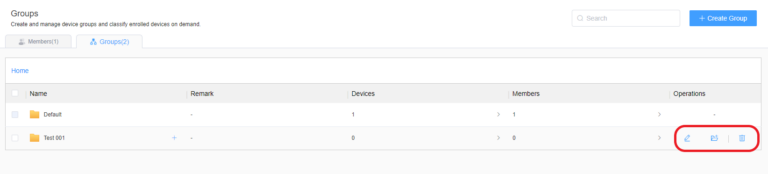
- Step 4Manage Groups
- From the right of the row, you can manage the group by editing the name and remark, moving the group to a different level, or deleting the group.
Still need help? Submit a request >>
Related Articles
- How to invite and manage account members on AirDroid Business?
- How to create a custom role on AirDroid Business?
- How to manage the devices in the Device List?
- How to Use “Batch Operations” to Improve Device Management Efficiency?
- How to Set up Tasks to Schedule Tasks and Manage Your Devices in Bulk?
You May Also Like
- What features are available for Remote Access on AirDroid Business?
- How to remote access a device via Admin Console on AirDroid Business?
- How to Manage Devices on AirDroid Business Desktop Client?
- How do I use the View Mode on AirDroid Business?
- How to use Black Screen Mode to maintain the remote device during Remote Control?