

How to Control Wireless Network Access in Kiosk Mode with AirDroid Business?
The Kiosk Mode of AirDroid Business allows administrators to remotely control and manage wireless network access on multiple Android devices simultaneously. This includes enabling or disabling Wi-Fi, setting up preferred networks, and preventing users from modifying these settings.
In this article, we will guide you on the process of setting up Wireless Network Access in Kiosk Mode with AirDroid Business.
- Step 1Access the Wireless Network Settings for Kiosk Mode
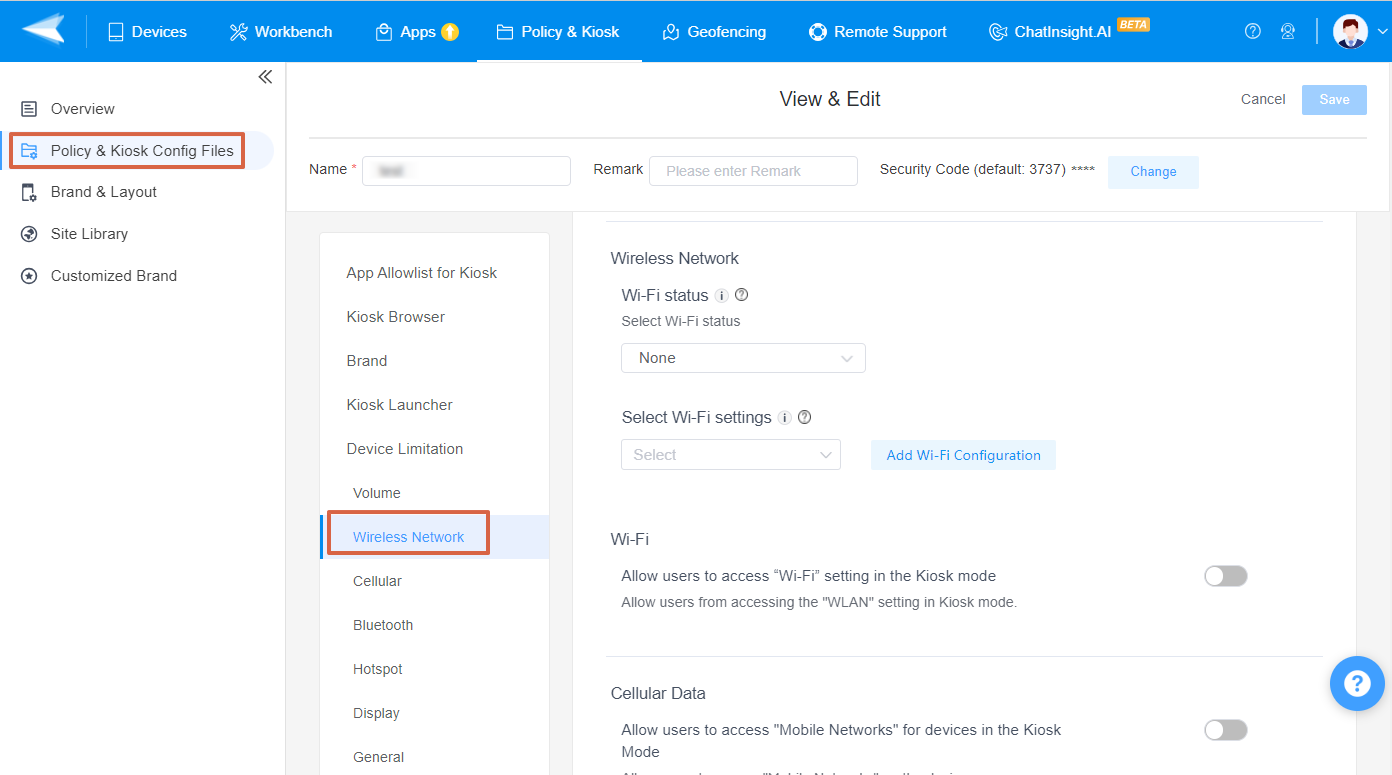
- Go to Admin Console > Policy & Kiosk > Policy & Kiosk Config Files. Click on the Arrow icon on your existing Config FileEdit.
- If you have not created a Config File, click + Create Config File instead.
- Next, click on Device Limitation;Wireless Network. This is where you can configure the Volume Settings.
- Step 2Configure Wireless Network Settings
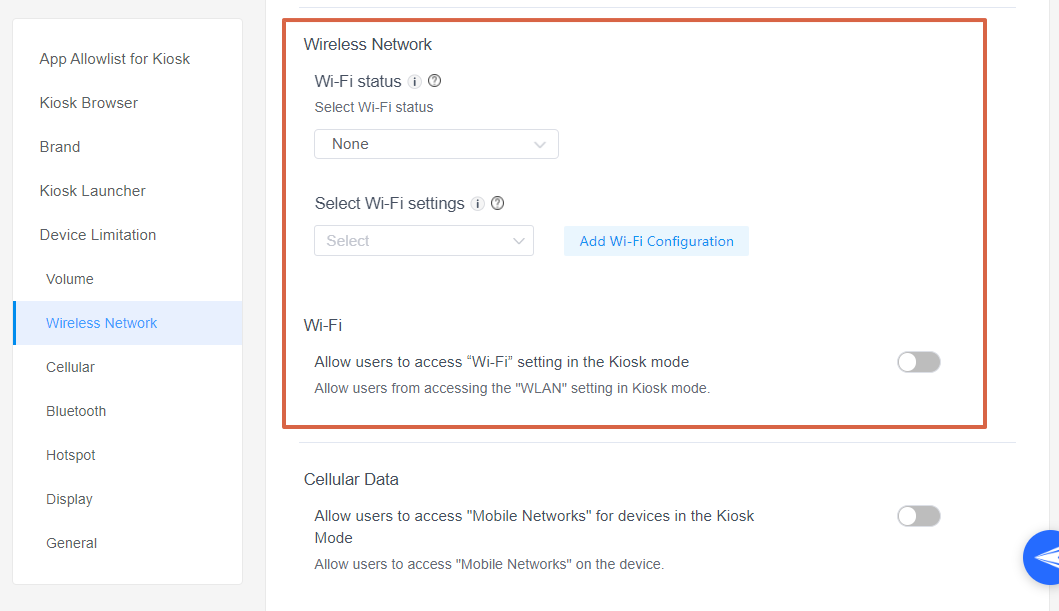
- The configuration includes three parts: Wi-Fi status, Wi-Fi network settings, and user access to Wi-Fi settings in Kiosk Mode.
Wi-Fi status
- You can choose whether to keep your device's Wi-Fi ON/OFF by clicking the drop-down box. There are three options: None, Keep Enabled, or Keep Disabled.
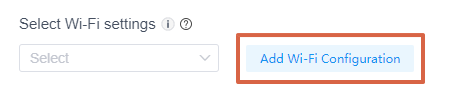
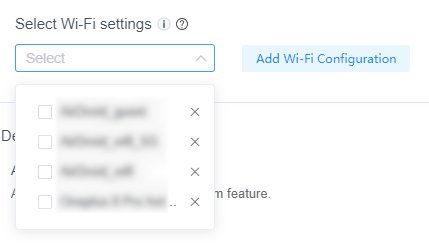
Select Wi-Fi settings
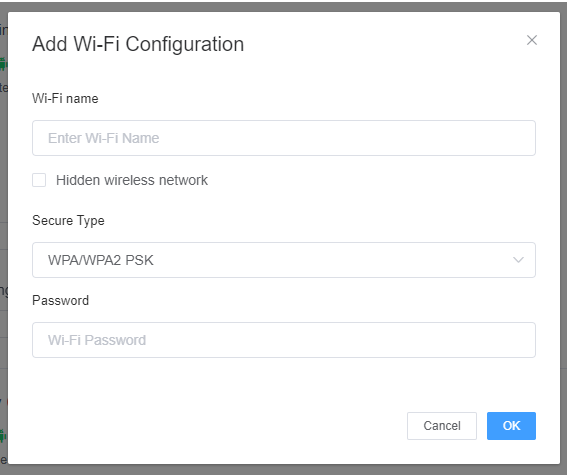
- Click the button [Add Wi-Fi Configuration], and you can set up the Wi-Fi network you want to add in the pop-up window. You can set the Wi-Fi network name, hidden state, Secure Type and Password, etc.
- After you add Wi-Fi Configuration, you can click the drop-down box and choose the Wi-Fi network you just added.
Wi-Fi
- To allow users to access "Wi-Fi" setting when in Kiosk Mode, please turn on this option.
- To disable users from accessing "Wi-Fi" setting when in Kiosk Mode, please turn off this option.

2. Devices enrolled through Android Enterprise or Zero Touch on Android 10.0 and above are not supported.
3. Requires location permission granted to the device's Biz Daemon.
2. Devices enrolled through Android Enterprise or Zero Touch on Android 10.0 and above are not supported.
3. For the Wi-Fi settings to take effect on some specific devices (e.g., Xiaomi), their users need to locate Biz Daemon's permission management settings in the system settings and set the "Enable Wi-Fi" permission to "Allow".


- Step 3Save and Apply the Settings
- After setting up this Kiosk File, click the "Save" button on the top right corner. (When you create this file for the first time, you will need to fill in the file name and remarks.)
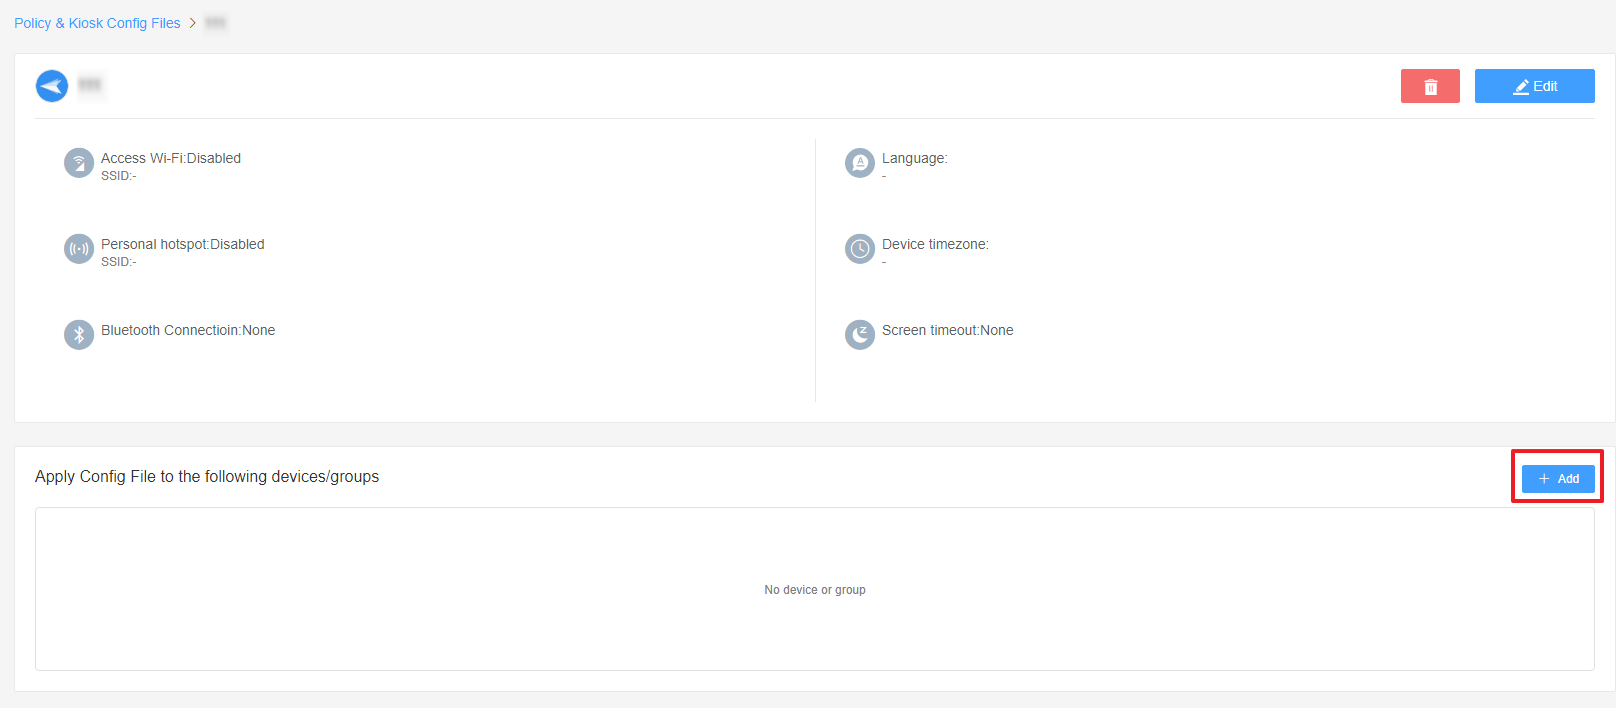
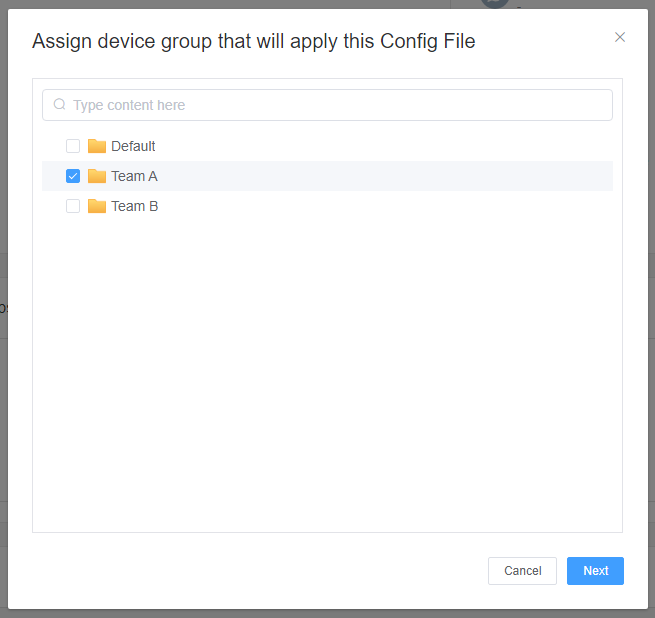
- Next, select the Kiosk File you just created or edited. Find the [Apply Config File to the following devices/groups] and click [+Add]. Choose the devices or groups to which you want to apply the kiosk settings to and confirm.
- When the status in the list turns to "Applied successfully", it means the kiosk settings have been successfully applied to the target devices.


When the status in the list turns to "Applied successfully", it means the kiosk settings have been successfully applied to the target devices.
By following these steps, you can easily control wireless network access on all your Android devices remotely. This not only saves you time but also ensures data security and prevents unauthorized access to unsecured networks.
Video Tutorial: Manage the Wireless Network Settings in Kiosk Mode
Still need help? Submit a request >>
Related Articles
- How to use App Allowlist for Kiosk Mode in AirDroid Business?
- How to Set up Kiosk Website Allowlist on AirDroid Business?
- How to set up Kiosk Browser Settings on AirDroid Business?
- How do I Customize the Kiosk Brand within AirDroid Business?
- How to Modify My Brand and Layout in Kiosk Mode of AirDroid Business?