How to Connect ADB Over Wi-Fi Without USB Cable
People rely on ADB or Android Debug Bridge to root Android devices, install apps, or tweak restricted settings. Connecting ADB over Wi-Fi is much more convenient than debugging Android via USB. The procedure varies slightly for different models of Android but overall, it involves simple steps.
In this blog, we will teach you how to set up wireless Android debugging to perform your ADB operations smoothly. Let’s dive in!
Part 1: Is ADB Over Wi-Fi Better than Wired Connection
Using ADB wirelessly on an Android is a lot easier, especially when the USB cable is not around. You get access to all ADB features, such as removing built-in apps, installing monthly OTA updates, customizing interface settings, and so on.
However, when it comes to the transmission speed for doing ADB operations. the wired connection stands out. Still, it’s crucial to learn how to set up ADB over Wi-Fi to ensure your important tasks never get delayed just because you don’t have a USB cable at the moment.
Before proceeding, know that both your Android and PC should be on the same Wi-Fi network for wireless ADB connection.
Part 2: How to Use ADB Wireless Debugging on Android
The method for connecting ADB over Wi-Fi is somewhat complicated, particularly when debugging the devices for the first time.
In this scenario, you need to set up ADB first on your Android and PC before connecting ADB wirelessly. Skip the first step if you have already debugged both devices.
Step 1: Set Up ADB On Android And PC
Let us teach you how to debug your computer and the Android phone which requires a USB connection.
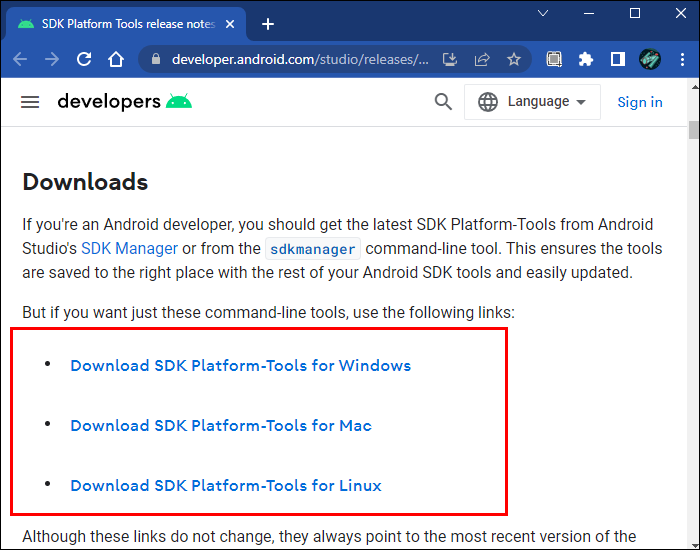
1. To debug the desktop (Windows or Mac), download Android SDK Platform Tools from the Android developer website and unzip the files.
2. Now, open the Settings on your Android and head to “About phone.” Tap “Build number” at least 7 or 10 times.
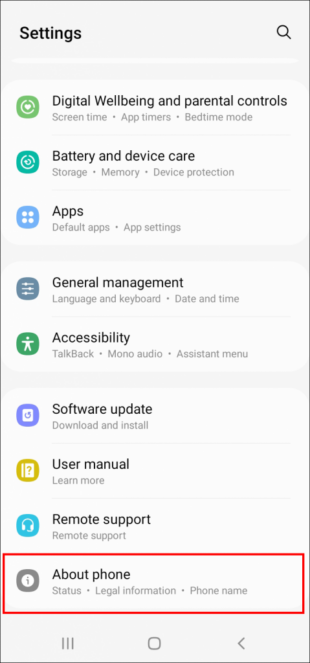
For Samsung, go to Settings > About Phone > Software Information > Build number.
For OnePlus devices, go to Settings > About device > Version > Build number.
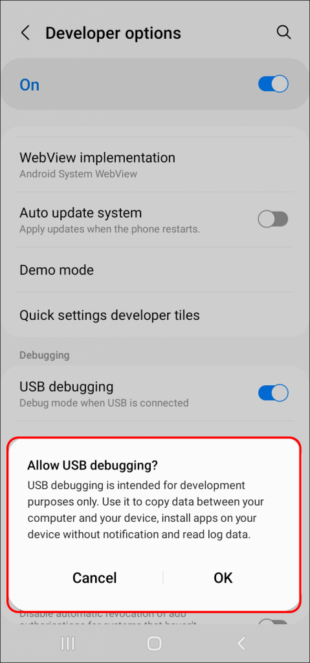
3. Then, go back and select Developer Options and enable “USB debugging.”
For Google Pixel, head to Settings > System > Developer options.
For a OnePlus device, head to Settings > Additional Settings > Developer options.
4. After that, connect the Android to your computer via a USB cable. (Setting up ADB for the first time requires a wired connection.)
5. Confirm the “Allow the USB Debugging” prompt when it pops up on the screen.
6. Now, open the folder containing the recently downloaded ADK Developer Tools.
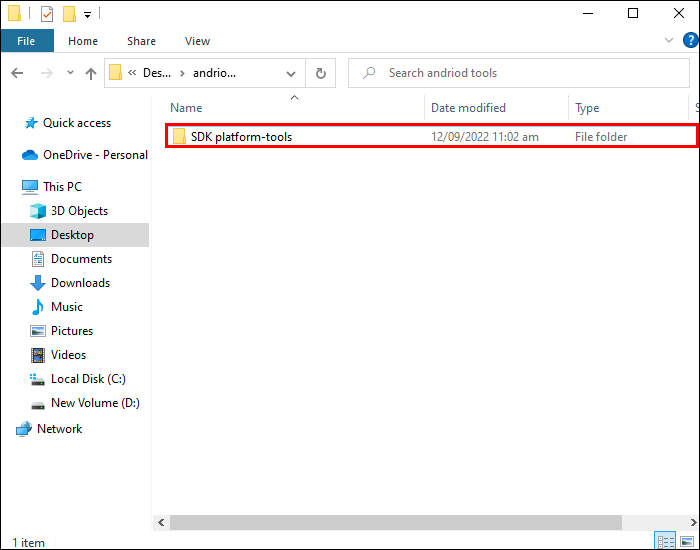
7. Here, press the “Shift key” and right-click anywhere, and select the “PowerShell” window.
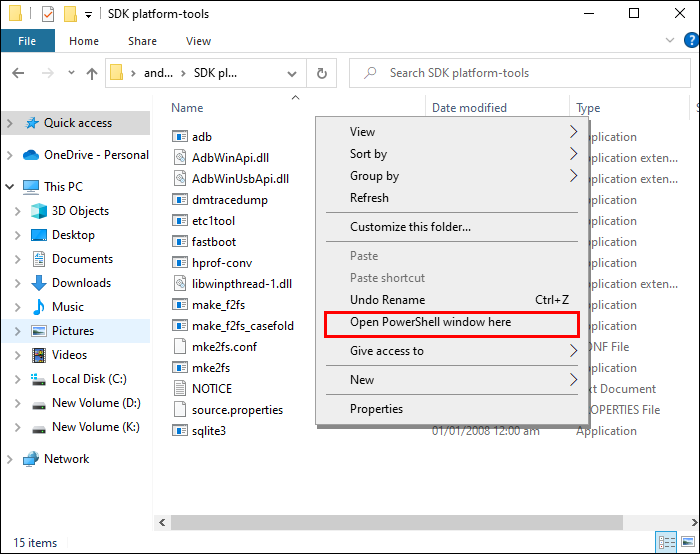
8. Enter “adb devices” in the Command Prompt (For Mac and Linux, put “./” before the command as “./adb devices”) and hit Enter. A new window showing your device’s serial number will appear.
Step 2: Connect and Use ADB Over Wi-Fi
Once ADB is set up, it’s fairly easy to establish wireless Android debugging. Here are the detailed steps to do that:
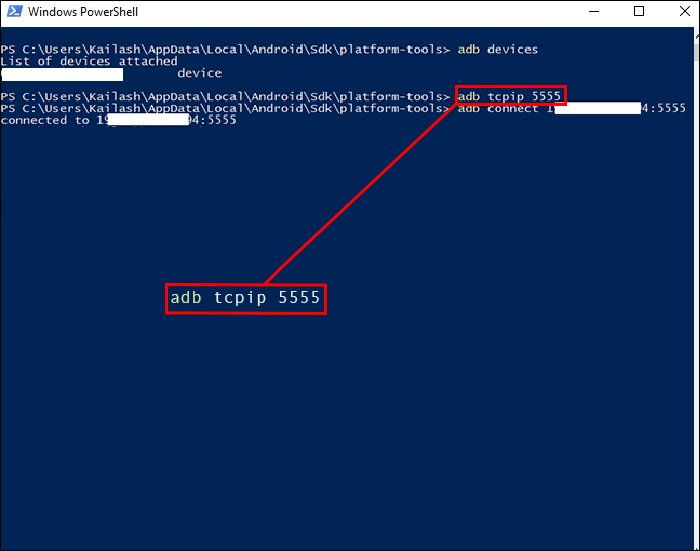
1. First, run the command: “adb tcpip 5555” in the command line and hit Enter.
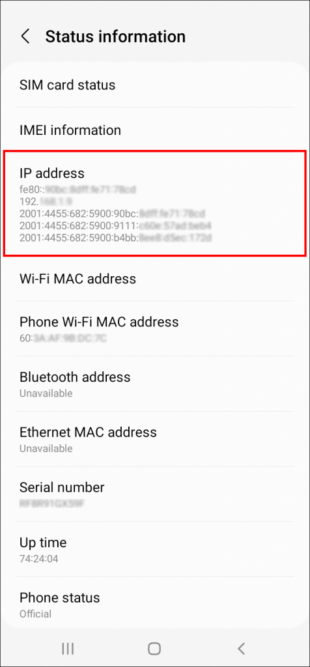
2. Now, get the IP address of your Android phone in Settings > About Phone > Status > IP Address. Copy it.
3. After that, enter the command: adb connect [IP Address}.” Hit Enter. (paste your device’s IP address in the brackets.
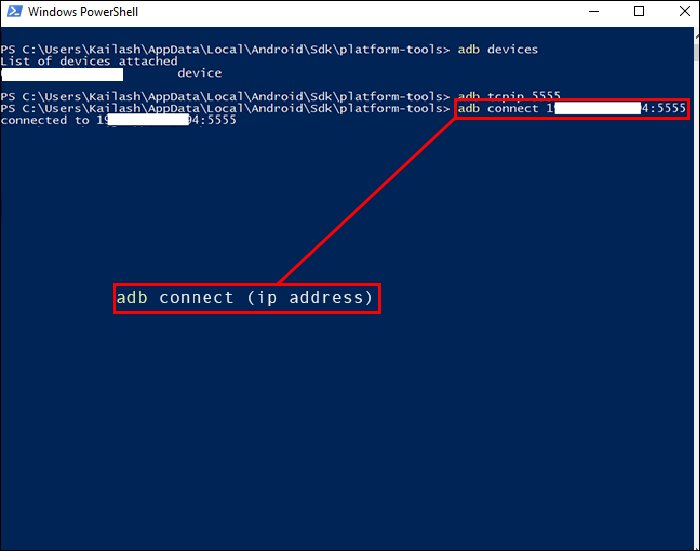
4. Safely remove the USB cable.
Congratulations, you have successfully connected ADB over Wi-Fi. From this point on, you can use ADB wireless debugging anytime without using a cable.
Part 3: What to Do if Android ADB Not Working?
Remember that setting up ADB is not always a smooth journey. You can encounter unexpected errors, especially in the Command Line, but fret not. Here are a couple of workarounds to fix the problem:
Tip 1: Install Minimal ADB and Fastboot tool from the XDA Forums and run it. This software automatically detects and installs the right Android drivers for removing the Command line errors.
Tip 2: Alternatively, open the Android’s Settings > Developer Options, and select “Revoke USB debugging authorizations.”
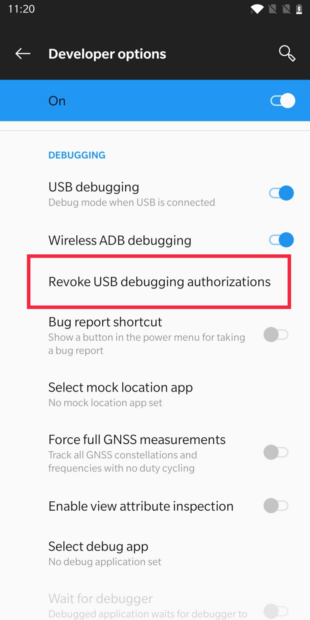
Now, repeat Step 2 to connect the Android device ADB over Wi-Fi successfully.
Bonus Tip: Easiest Way to Connect Phone and PC Wirelessly Without Debugging
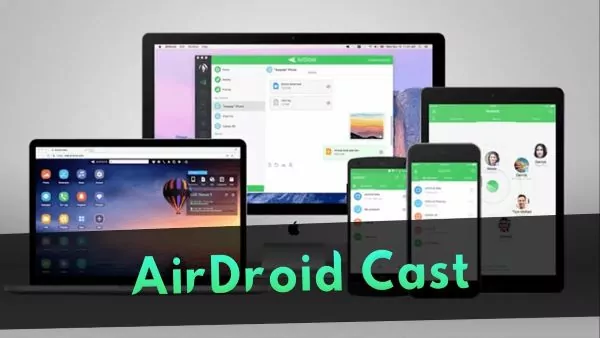
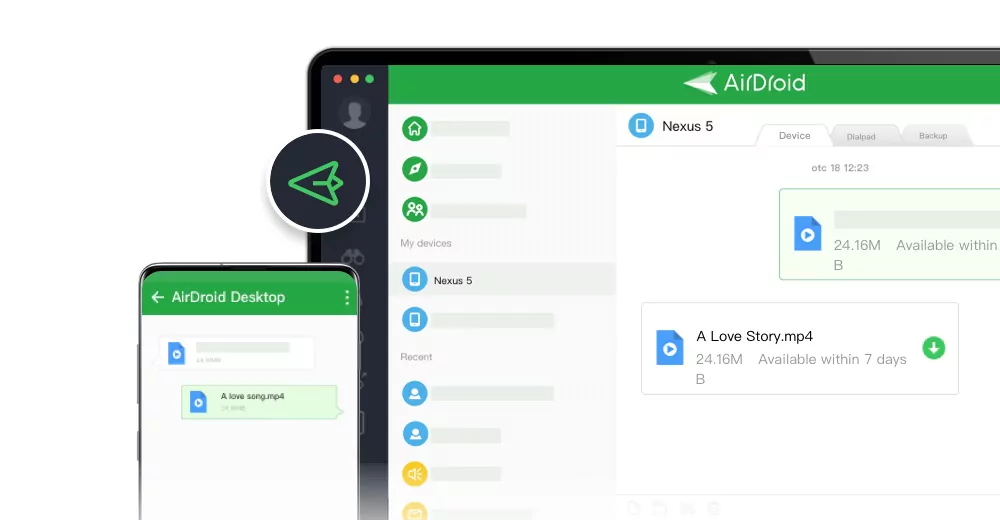
Knowing how to connect the Android phone to a PC wirelessly can make life a lot easier. In this regard, AirDroid Personal is the most comprehensive solution. It offers the simplest method to establish a remote connection between Android and PC without debugging.
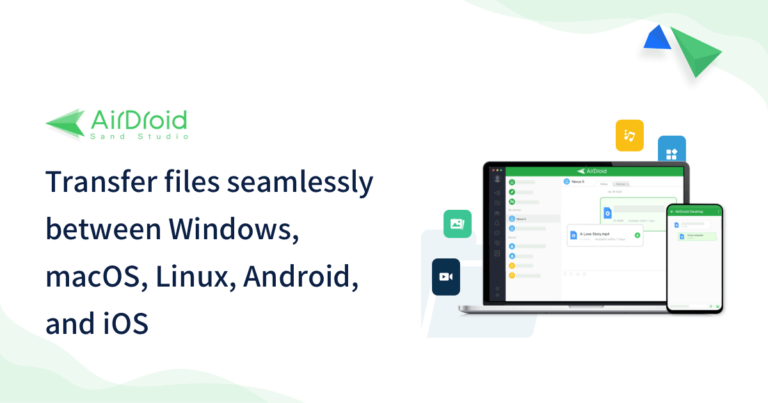
It is among the very few tools that work seamlessly on both Wi-Fi and remote networks. After a successful wireless connection, you can transfer files; manage internal Android or iOS files; view and manage notifications and calls; enable screen mirroring; and use Android as a remote camera.
The program boasts an intuitive and friendly interface, allowing non-technical users to explore its features without any hassle. It comes with advanced AES 256 end-to-end encryption to ensure the utmost safety of users.
Key features of AirDroid Personal
Here are the key features of this tool:
- File Transfer and Management: Compatibility with all devices, it offers the quickest way to transfer data across different platforms wirelessly.
- Remote Control: Connect your phone wirelessly to the computer and manage its applications, including camera, photos, music, and more.
- Screen Mirror: Offers the easiest way to mirror your Android phone on a computer. Also supports multi-device screen sharing.
- Manage SMS and Notifications: Respond to all the notifications, SMS, and calls from your PC without picking up the phone.
- AirDroid Web: It has a dedicated browser version for quick and hassle-free wireless connection between your PC and phone. AirDroid Web is equipped with tons of features that you cannot miss out.
In addition, it comes with a sea of stellar features to help you boost multitasking and perform daily tasks quickly.
FAQs
Q1: Is ADB Safe to Use?
If you have an understanding of ADB commands, using ADB over Wi-Fi or USB connection is safe. However, someone new to ADB can encounter risks of using ADB, such as entering wrong commands or bricking the device when rooting it.
So, always back up your data and carefully enter the commands when using a wireless ADB connection.
Q2: What are the benefits of a wireless ADB connection?
Connecting ADB over Wi-Fi offers all the features you get from wired Android debugging. It includes:
- Root Android devices.
- Uninstall the pre-installed applications on your phone with a simple ADB command.
- Mirror Android phone on a computer without rooting.
- Generate bug reports.
- View system logs, and more.
However, you must have a knowledge of ADB commands and potential risks to get the most out of a wirelessly ADB connection.
Q3: Is it necessary to use a USB connection for connecting ADB over Wi-Fi?
Yes, you need to set up ADB over Wi-Fi first through a USB connection between your Android and PC. After that, you can proceed with wireless debugging anytime without a USB cable.
Q4: How to Turn Off ADB on Android?
Disabling the ADB connection on an Android is straightforward. Just run the: “adb kill-server” command to get the job done. Alternatively, head to Settings > Developer options, and disable the option to turn off ADB on Android.
Final Remarks
This article teaches you how to connect ADB over Wi-Fi. Follow the steps carefully to set up wired debugging between your devices to enjoy the convenience of using ADB over Wi-Fi. Moreover, try AirDroid Personal as a perfect solution to connect your Android or iOS to a computer without debugging, giving you control over its applications, notifications, and internal files.
Feel free to ask any questions.




Leave a Reply.