How to Delete Google Photos Without Deleting Them From iPhone
Most gadget users store their pictures in Google photos for future reference. Sometimes there is a need to erase the images in the virtual store without losing them from your device. In this article, you will get a quick synopsis of how to delete Google photos without deleting them from your iPhone. When you take a closer look at the gadget settings, there are options to synchronize with the Google photos so that you may never lose your memorable clicks even when your device goes off unexpectedly.
Google Photos is an excellent virtual storage program that supports both iOS and Android gadgets. This platform offers tremendous storage space to fill up media files. There are numerous methods to delete Google photos without affecting the data from iPhone. You can select reliable ways for successful outcomes.
Part 1: Efficient method to delete Google photos on PC
The basic concept in retaining the photos on iPhone while deleting them in the Google Photos environment is to disable the Backup and Sync option. Whatever method you adopt to perform this deleting process, ensure that the synchronization option is turned off when deleting the desired files in the virtual space.
To delete Google Photos on a PC, follow the below steps carefully for a successful deletion process.
- Go to the Google Photos webpage and sign in to your Gmail account.
- Tap the Menu option displayed as three horizontal lines and hit Settings from the expanded items. Now, turn off the Backup & Sync option with the connected gadgets through this account.
- Visit photos.google.com and log into your account to begin your deletion process. Choose the desired images in the list and press the Trash icon to remove the files from Google Photos.
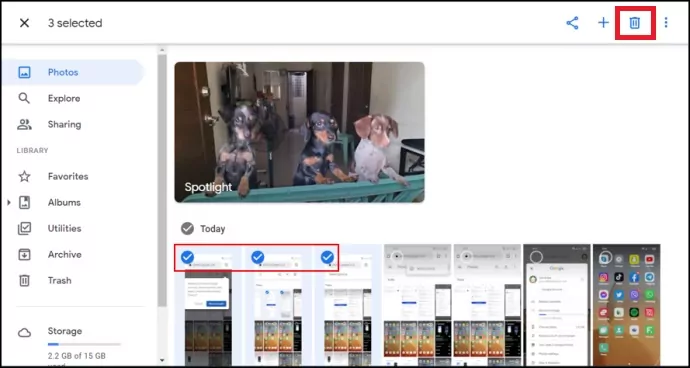
The above action deletes the chosen file from Google Photos without affecting the synchronized gadgets. The erased content removes permanently after 60 days of this deletion procedure. It is one of the easiest ways to delete Google Photos without removing them from the iPhone.
Part 2: How to delete Google Photos using a Smartphone?
Instead of using a PC, why not use your device to remove the photos on the Google Photos platform retaining them on other gadgets precisely? Here, you will be working on your smartphone to delete the photos at the Google Photos platform by disabling the synchronization option.
Surf the below stepwise instructions to delete the Google Photos using a Smartphone without affecting the images on phone.
- On your phone tap Settings -> Apps -> Google Photos -> Storage and then disable the storage access. This action denies the changes in Google photos to reflect them on your phone.
- Now, scroll and navigate the files in Google Photos one after the other. Then, long press the images and hit the trash icon to delete the files from the Google Photos environment.
The deleted images go away permanently after 60 days and to erase all the images in this virtual storage, go to the Menu option. Then, select Delete All option to remove all the images in Google Photos.
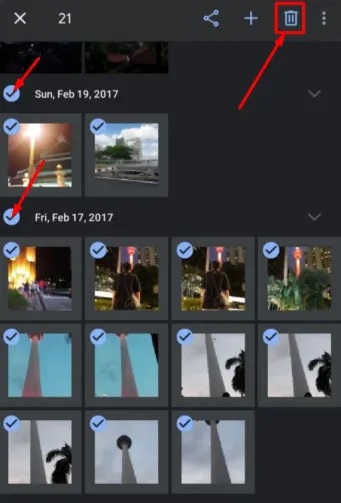
This method is simple and you can delete any number of images in Google photos without reflecting on your phone.
Part 3: How to delete Google Photos on iPhone?
You can remove the Google photos from your iPhone by navigating into your account. Surf the below guidelines carefully to process the deletion successfully. Before performing the steps do not forget to disable the Backup and Synchronize settings in your Google app so that the changes made in this platform do not affect the gadgets connected with the same account.
- In your iPhone, disclose the Google Photos app and hit Photos available at the bottom of the screen.
- Now, long press the photo that requires the removal process and presses the Delete icon available at the top.
- Next, hit the Move to Bin button to move the chosen photos to the trash.
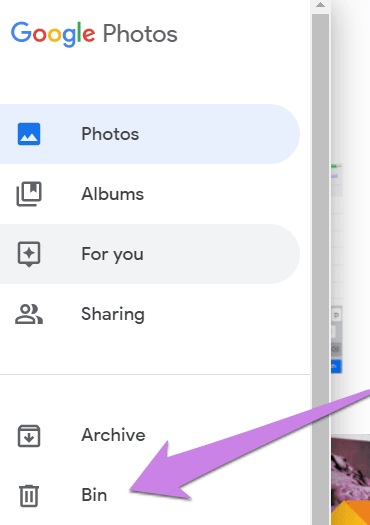
If you want to empty the trash and remove the photos permanently, then go to Library and tap the Bin icon. Next, hit the three dots displayed at the right top of the screen and select the Empty bin option from the expanded items. This action erases all the photos in the bin permanently. Now it is impossible to get back your files later because all the photos had gone out of this storage space.
Part 4: The Best Mobile Management Tool – AirDroid Personal
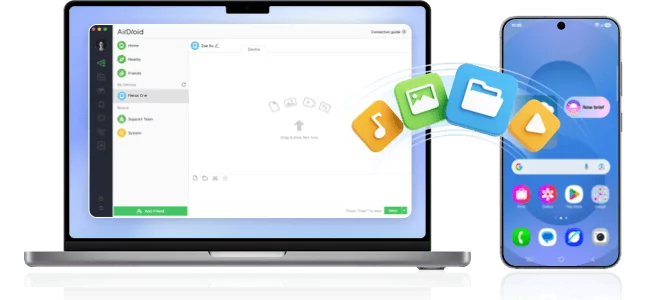
If you are looking for a complete solution for your mobile needs, then AirDroid Personal is a perfect choice. The AirDroid Personal application helps you to perform a wide range of activities between gadgets hassle-free. You can transfer files, screen mirror, establish a remote connection, and manage SMS and notifications effortlessly. It serves as a reliable app for everything related to phone needs. Moreover, it has excellent compatibility features and is recognized by most of the media and users globally.
The key features of the AirDroid Personal application
- Manage and Transfer files between gadgets precisely.
- This app supports remote control access smoothly
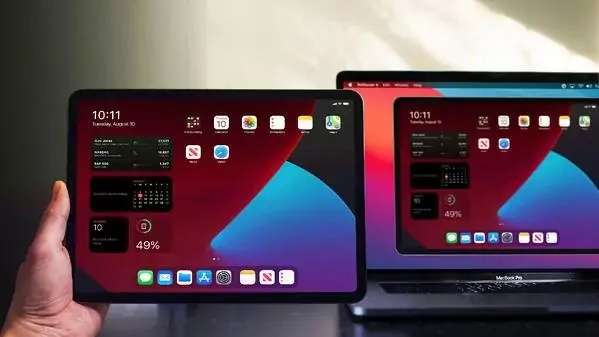
- Screen mirror your gadget on bigger screens to obtain every detail of the display
- Monitor the gadgets remotely for safety purposes
- Establish remote connections with the gadgets and control SMS and notifications hassle-free.
These are the incredible functionalities of the AirDroid Personal program. You can use this tool to perform your requirements effortlessly. It has a simple interface and is easy to use even without any prior technical knowledge. Connect with its official webpage to get elaborate ideas on the in-built functionalities in depth.
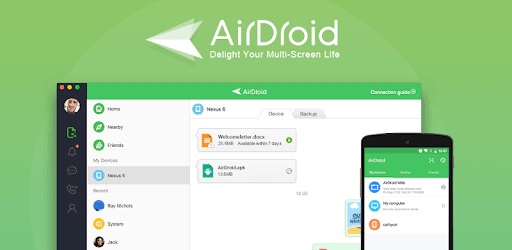
Here, you can surf the detailed illustration on how to use AirDroid Personal tool to transfer files like photos, videos, and any other documents between gadgets flawlessly.
Step 1: Download the application
Go to the business webpage of the AirDroid Personal app and download the correct version of the tool according to your gadget's OS. Then, install it and launch the app.
Step 2: Choose the Nearby option
From the source device, choose the files and on your AirDroid Personal home screen, tap the Nearby menu. The app searches for the nearby device and enables the location settings for the proper reach of the target phone.
Step 3: Start the Transfer process
Soon after the search process, choose the respective target phone name from the displayed items and then press the Transfer button to trigger the process.
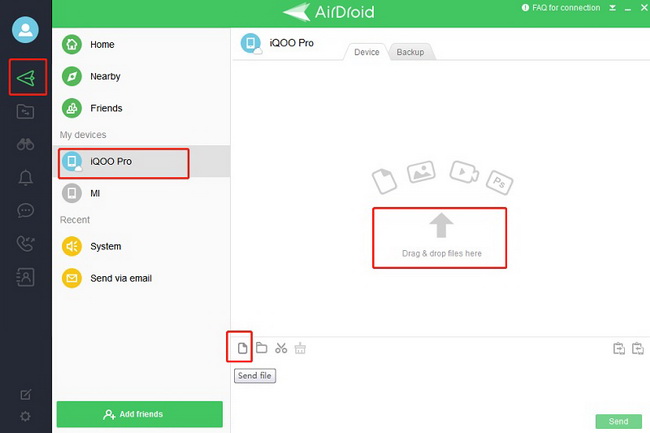
You must wait until the files transfer between the gadgets successfully without any interruptions. It is an easy way to move files from one phone to another without any data loss. It is enough if you follow up the on-screen instructions carefully to carry out the file transfer procedure.
Conclusion
Thus, this article has taught you how to delete Google photos without removing them from your iPhone. The above discussion helps you to perform the deletion process flawlessly. The AirDroid Personal application serves your phone needs in managing file transfers, screen mirroring and establishing remote control process hassle-free. Get connected with the AirDroid Personal app and figure out a complete solution for your gadget needs. You can download this application and make the best out of your phone effortlessly. Choose this app due to its user-friendly interface and enjoy its real-time usage easily. Stay tuned with this article and discover the sophisticated methods to work with gadgets.
FAQs





Leave a Reply.