How to Fix AirDrop Declined -The Best Solution 2024
Key Takeaways
- AirDrop Settings: Ensure that AirDrop is set to receive from "Contacts Only" or "Everyone." You can find this in Settings > General > AirDrop.
- Bluetooth and Wi-Fi: Confirm that both Bluetooth and Wi-Fi are enabled on both devices.
- Device Visibility: Make sure the devices are not set to "Do Not Disturb".
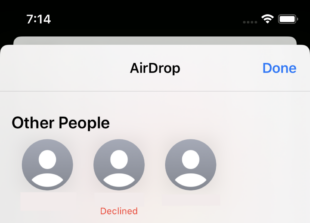
Many users are reporting that they are experiencing the AirDrop declined error whenever they try to share files. This can be not very pleasant and needs a quick way out.
This article will provide a step-by-step guide on how to fix AirDrop declined issues. Stick to reading and find out.
Other Troubleshooting Steps
1Reset Network Settings
A tiny Bluetooth, Wi-Fi, or network settings bug often makes AirDrop ineffective. To eliminate this, you must reset both devices' network settings.
Follow the below steps to do that:
On your iPhone or iPad, go to Settings > General > Transfer or Reset [Device] > Reset Network Settings.
Head to the Apple menu > System Preferences > Network on your Mac. Here, remove.
2Turn Off the Personal Hotspot on the iPhone
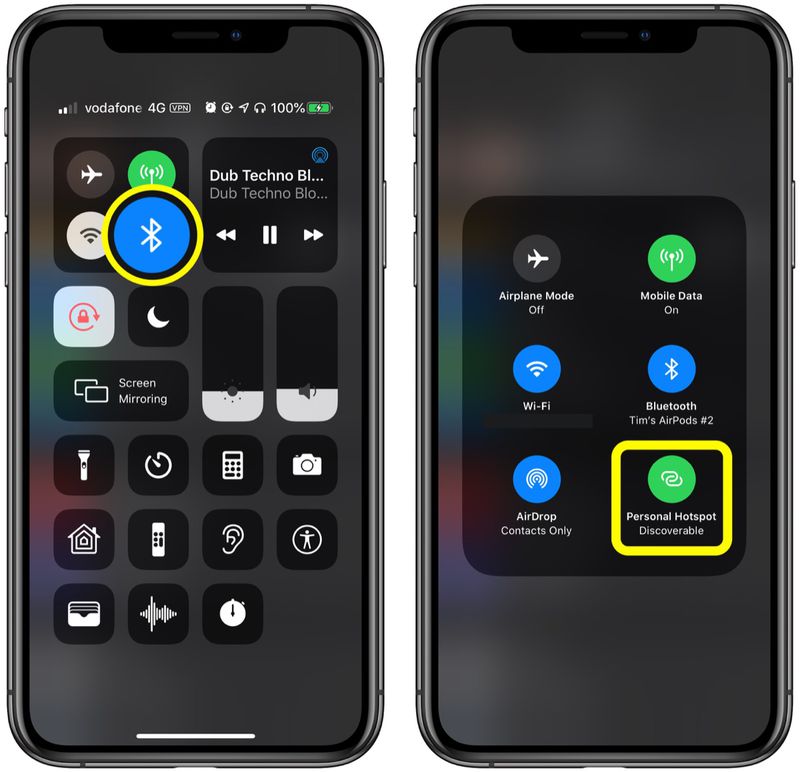
It may occur that you may have enabled a personal hotspot on your iPhone, which can be the reason why AirDrop declined.
Stating the obvious, you should turn off your hotspot. To do that, go to Settings > Mobile Data > Personal Hotspot and turn it off.
If you're using the newer iPhone, go to the Control Center > long-press the Bluetooth icon, and tap the Mobile Hotspot icon to turn it on.
3Make Sure Your iPhone or iPad is Unlocked
Make sure your iPhone isn't locked or powered off when you're trying to send files from another iPhone or Mac. AirDrop fails to detect the device in sleep mode or shut.
Similarly, the Mac shouldn't be in sleep mode. Press any key on your Mac to wake it up.
4Restart Both Devices
A minor glitch or bug in either your iOS device or Mac can be why AirDrop declined. Restarting your iPhone and Mac is the quickest way to troubleshoot these errors.
After restarting, try sending the files again; hopefully, AirDrop will work fine. If not, continue reading.
5Disable Firewall on Your Mac
Sometimes, the antivirus installed on your Mac might interfere with the normal functioning of AirDrop, leading to all sorts of issues, including AirDrop declined on Mac.
You need to limit the strictness of your Mac's firewall temporarily until you share the files. Here's how to do that:
Step 1. Hit the Apple icon in the menu bar and go to System Preferences... > Security & Privacy.
Step 2. You may have to enter the password to get going.
Step 3. In this step, uncheck the "Block all incoming connections" option. Also, check the box next to "Automatically allow built-in software to receive incoming connections."
Step 4. Hit Ok and try to use AirDrop again.
Why is My Mac Declining AirDrop?
Some of the common reasons why AirDrop declined include, but are not limited to:
1Minimum AirDrop Requirements
AirDrop won't work if your iOS devices are not compatible with AirDrop. Ensure your iPhone or iPad runs on iOS 7 or later while the Mac device has 2012 and later versions of macOS.
In addition, both devices should be placed close to each other. They don't have to be close, but near enough to let AirDrop detect them.
2Wi-Fi and Bluetooth are Not Enabled
Make sure Wi-Fi and Bluetooth are enabled on both devices. Note that AirDrop doesn't need Wi-Fi to transfer files, but Wi-Fi has to be turned on for AirDrop to work.
3Issue in Wi-Fi Network
In many cases, AirDrop doesn't work correctly due to an error in Wi-Fi or network settings. The simplest way to troubleshoot this problem is by resetting the network settings on both of your devices.
4Display Status
AirDrop requires an active display status on Mac and iOS devices to work correctly. Your iPhone or Mac should not be asleep while trying to share files via AirDrop.
AirDroid Personal – A Perfect Alternative to AirDrop
AirDrop is an efficient service for sharing data between two Apple devices. However, due to unexpected issues, many users often look for AirDrop alternatives to improve the file transfer experience.
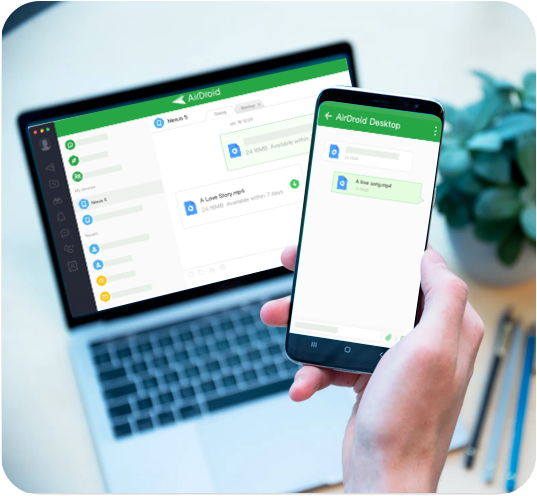
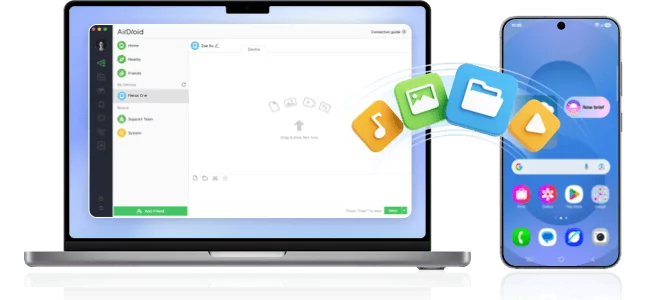
That's where AirDroid Personal becomes your ideal companion, It boasts of its super-fast speed, intuitive interface, and many additional features that AirDrop doesn't offer.
For one, it allows cross-platform data transfer. Now, you can quickly transfer files between devices like Android, iOS, Mac, and Windows. On top of that, it gives you the freedom to send data to multiple devices in one go.
Critical features of AirDroid Personal
- Supports cross-platform file transfer.
- It guarantees lossless data transfer at a blazing-fast speed.
- Share files between both Nearby as well as Remote phones.
- Allows you to manage smartphone from PC remotely
In the below steps, we will learn how to transfer data between two iPhones using AirDroid Personal.
Step 1. Install the AirDroid mobile app on both iPhones and log in with the same AirDroid account.
Step 2. Launch the app on the first iPhone, tap the Nearby tab, and choose your other iPhone.
Step 3. Once both phones are connected remotely, tap the Transfer icon and hit the paperclip icon > Files. Now, select the files you want to send.
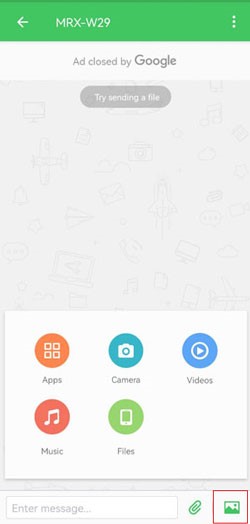
Step 4. Hit the Send option to send data.
Final Remarks
That brings us to the end of this article. Hopefully, you can better understand why your AirDrop declined and how to fix it. Implement the tips mentioned above until your AirDrop is smooth sailing.
But if AirDrop is still not working or you want a better alternative to AirDrop, then get AirDroid Personal.


Leave a Reply.