How to Transfer iPhone Photos to External Hard Drive?
Backup plan is extensively used in our everyday life, whether personal or professional. In the era of technology, backup of your valuable data is also a significant practice we all should adhere to. Therefore, whether you're using an Android or iPhone, backing up important data like photos, videos, contacts, documents, etc., will always save you from hassle.
Transferring data from Android devices to external hard drives is very common, and most people are familiar with the topic. However, iPhone users often wonder if their devices can back data to external drives, USBs, storage devices, etc. In today's article, we will debug how to transfer photos from an iPhone to an external hard drive without complications. So let’s get into it.
Method 1: USB Cable/Manual Transfer of iPhone Photos
Let's start with the basics and discuss the manual method of transferring photos from your iPhone to an external hard drive on a computer or independently. We will discuss how to back up iPhone photos to an external storage device like a USB drive, SD Card, Hard Drive, etc.
USB/SD Card
If you want to move photos or other files from your iPhone to a storage device like a USB Drive or SD Card, follow the given steps to complete the transfer:
- Connect your iPhone to the external storage device using a cable adopter. You will need a cable adopter or connector to attach the storage device to the charging port of your iPhone. Any lightning-to-USB camera adapter or lightning-to-SD Card Camera reader will do the job.
- When your device is connected to a storage device for the first time, set it up by selecting Trust on the pop-up notification on your iPhone.
- To transfer photos, you can use the supported apps like Files. To copy photos, open the photos folder in Files, copy certain files or complete the folder.
- Tap on Browse at the bottom of the screen and select the storage device > choose where you want to paste the photos > hold the screen, and tap Paste.
- Once you’ve backed up your photos to the device, disconnect the storage device.
Hard Drive on Computer
Transferring photos to a hard drive can be an extension of the previous part, or you can independently transfer files using the USB cable. If you’ve transferred photos to a USB drive and want to transfer it to the Hard drive on the computer, simply connect the USB drive to the computer > set it up > open folder > copy files > paste them to the desired location > remove the USB drive.
However, you can directly move photos from your iPhone to an external hard drive by the following step-by-step guide:
- Connect your iPhone device with the computer using the USB cable. Besides you will also need to connect your hard drive to the computer.
- The autoplay of the Windows will set up the device, and you need to click on Import Pictures and Videos.
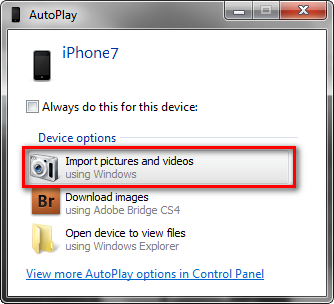
- Select the Import operation.
- Now, you have to choose the device where you want to transfer photos. Select the external hard drive and Continue to transfer iPhone photos to the external hard drive.
Method 2: How to Move Photos From iPhone to External Hard Drive Using Photos App?
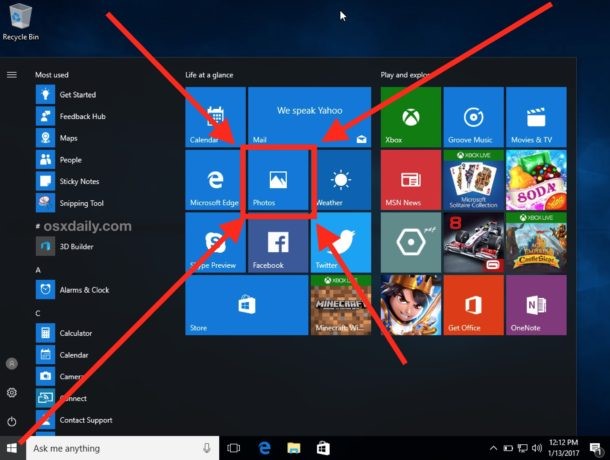
Wondering how to backup iPhone photos to the external hard drive of your computer? You can easily move photos to an external hard drive using the Photos App on your Windows device. It is indeed one of the very convenient and go-to ways to transfer photos from your iPhone to the computer.
Wondering how?
Here is the step-by-step guide to moving photos to a hard drive using the Photos App on Windows:
- Connect your iPhone to the computer(Windows) using the USB cable. Set up the device.
- Also, connect the external hard drive to your computer to receive photos.
- Open the Photos App on your Computer.
- Select the application's Import option at the top right corner.
- Choose the images you want to import.
- Once selected, proceed with the import process and select the external hard drive for the transfer location.
- Once the process is completed, disconnect your iPhone.
Method 3: Backup iPhone Photos to External Hard Drive Using iCloud
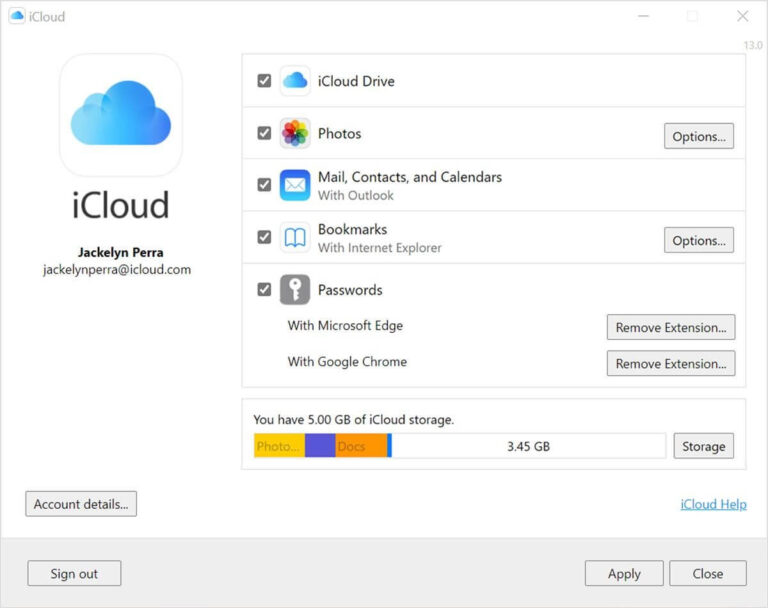
iCloud is a go-to cloud storage app on iOS devices specifically. However, non-iOS users can also capitalize on the capabilities of iCloud. Besides its storage capabilities, you can leverage it as an iPhone user when looking at how to back up your iPhone photos to an external hard drive.
We will guide you through the step-by-step guide on backing up your photos to an external hard drive using iCloud:
- On your iPhone, you will need to enable the iCloud Photos. To do this, go to Settings > iCloud > Photos > Toggle on
- Once done, head to your computer and log in to iCloud using your Apple ID and password.
- After logging in, go to the Options button next to the Photos and check the iCloud Photo Library box.
- Besides, tick the box for Download New Photos and Videos to my PC.
- After checking the boxes, you will change the location of downloading new photos and videos. To do so, go to Download New Photos and Videos to my PC > Change > Default Location(External Hard Drive).
- Click Done and Apply.
- Once the library sync is completed, all the iPhone photos will be transferred to the external hard drive connected to your computer.
Transfer iPhone Photos to External Hard Drive on Mac
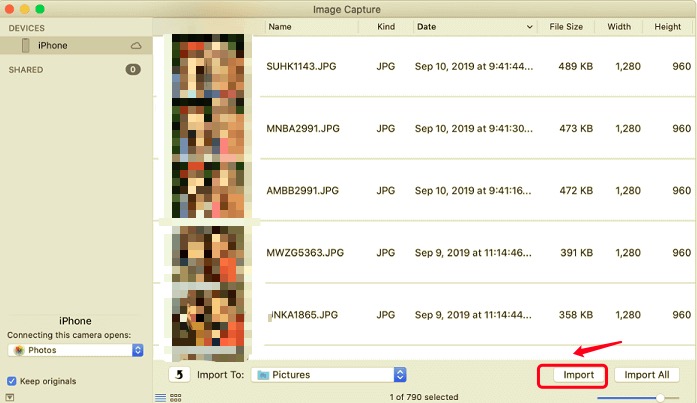
If you're a Mac user and want to transfer iPhone photos to an external hard drive, you can leverage the Image Capture App on your Mac device. The App allows you to swiftly upload media files, like photos, videos, etc., from digital sources like cameras.
Are you wondering how to leverage the Image Capture App on Mac to transfer iPhone photos to an external hard drive?
Here is the step-by-step guide on how to transfer photos from the iPhone to the external hard drive on Mac:
- Connect your iPhone and external hard drive to the Macbook via a USB cable. Complete the setup process.
- Once connected, open the Image Capture app on your Macbook and choose iPhone from the device lists.
- Click Import to the dialogue box and select the option to save the pictures to your external hard drive.
- Select all photos or specific ones to import to the hard drive. Once transferred, disconnect the devices from the Macbook.
Transfer Photos From iPhone to External Hard Drive Without Computer
All the methods we discussed in the article involved computers transferring photos from the iPhone to the external hard drive. However, if you’re interested in knowing how to transfer photos from an iPhone to an external hard drive without a computer, keep reading this section.
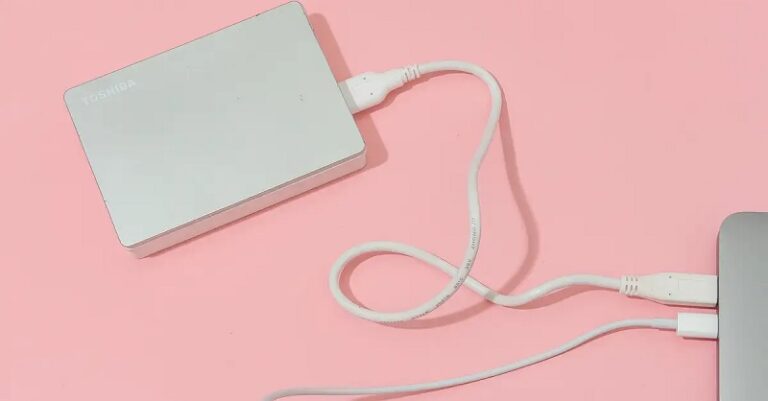
Here is the step-by-step guide on how to transfer photos from an iPhone to an external hard drive without a computer:
- Connect your iPhone device with the external hard drive. You will need a USB to lightning cable to establish the connection.
- Once connected, set up the device and mark it as trusted on the pop-up message.
- Open the Photos App on your iPhone and select the files you want to transfer to the external hard drive.
- Once selected, click on share, select the drive, and initiate the photo transfer to the files app.
- Go to Files App, select the external hard drive, and save the pictures.
Method 6: Wireless Transfer of Photos Between Devices
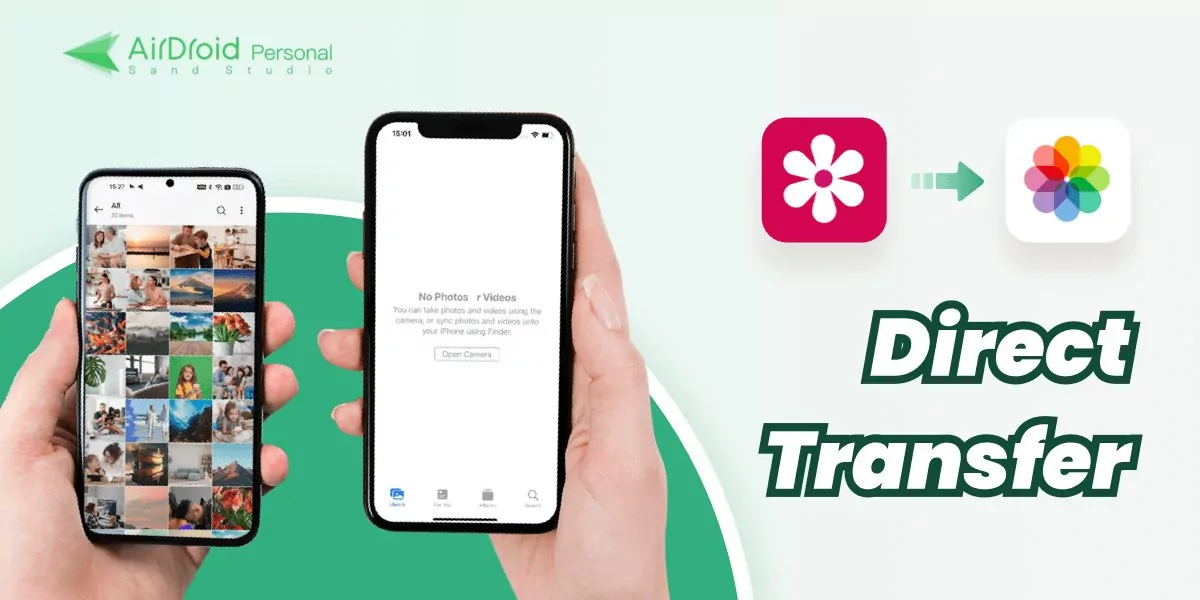
We have shared different ways you can leverage to transfer photos from an iPhone to a hard Drive, including a computer or without a computer. However, suppose you want to wirelessly transfer photos from your iPhone to a hard drive. In that case, AirDroid is one of the best solutions you can capitalize on. The computer assists the wireless transfer from your iPhone to the hard drive.
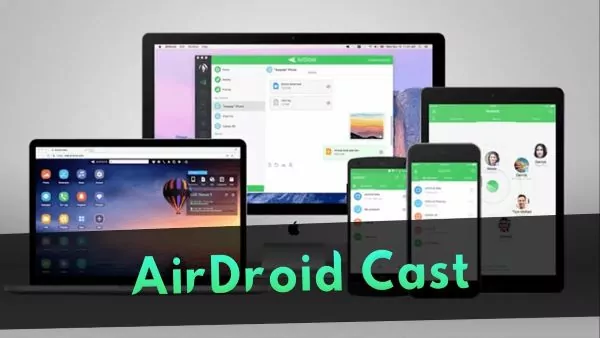
The device management tool allows file transfer across different devices, remote control over Android devices, screen sharing, notification management, and more. It is a tool supported by all operating systems, be it Android, iOS, Windows, or macOS.

Here is the step-by-step guide to transferring photos from an iPhone to an external hard drive with AirDroid:
- Install AirDroid Personal on iPhone and computer devices and register with the same AirDroid account.
- Launch AirDroid Personal and select Admin-PC, to which you intend to share files.
- Tap the “Paperclip” button to browse the photos you’d like to share.
- Once the files are selected, tap the “Send” icon to send the photos from iPhone to PC.
- Once the files are transferred to the computer, connect the hard drive to the computer via a USB cable.
- Select the downloaded photos from the iPhone and move them to the hard drive.
Conclusion
We have shared different solutions you can leverage for transferring photos from your iPhone to an external hard drive. However, we suggest AirDroid Personal as the most adaptable third-party solution for such file transfers.
Why? It is more than just a file transfer app. With a single tool, you can manage your device, files, notifications, etc. It also allows you to share or mirror your screen with your friends or colleagues for collaborations. The AirDroid Personal's support for multiple operating systems is another feature that makes it a go-to choice for file transfers across operating systems.





Leave a Reply.