Get Started
- Need to sign in/up ChatInsight.AI account on your device.
1Create Knowledge Base with Your Own Data
Once you have successfully logged in, you will be taken to the ChatInsight backend. To ensure your chatbot meets your usage needs, you have to create knowledge base categories first.
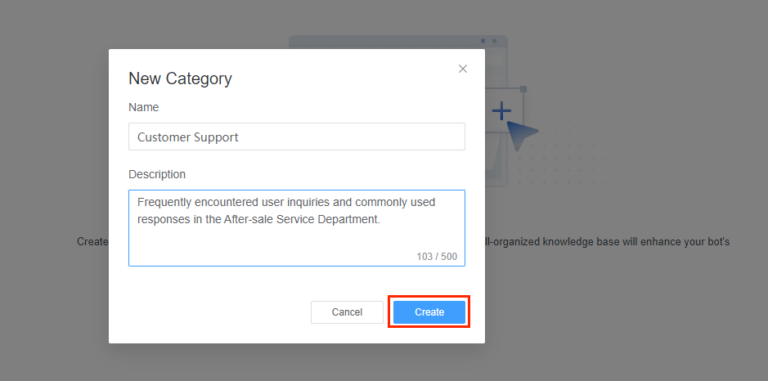
- Step 1: Just simply go to the " ChatInsight.AI" section on the top. Navigate to the " Knowledge Base" on the left bar and click on the " New Category" button.
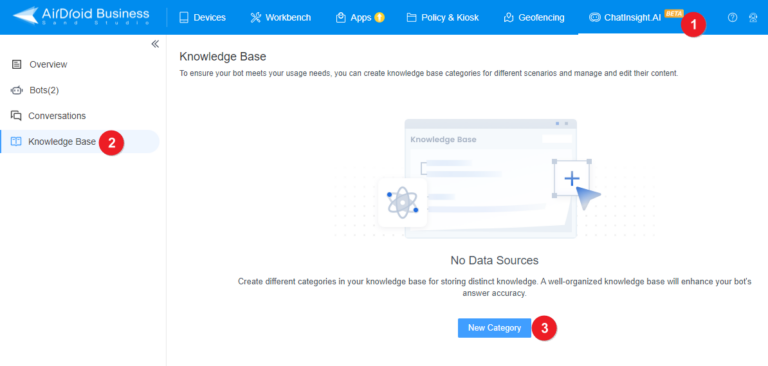
Here, you can manage and edit your categories and knowledge base contents as needed.
- Step 2: Click the Category you just created, and add your data sources by writing, uploading documents, or importing webpages.
- Step 3: It may take from a few seconds to 5 minutes depending on the file size during the parsing process. Once the parsing process is complete, click " ▷" to check and modify your content. Then click on the “ Train" button on the top right to let the model train and learn from them.
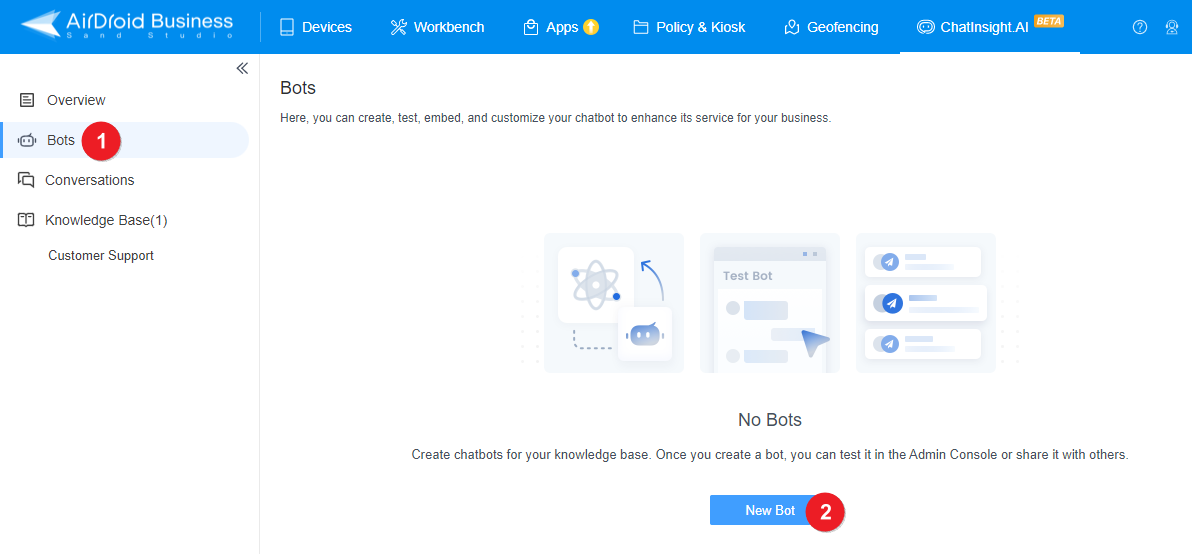
2Create ChatInsight Chatbot
After uploading data sources, you can set up specialized chatbots for various tasks by tailoring their roles, strictness, and other settings for an enhanced user experience.
- Step 1: Proceed to the " Bots" tab and click on the " New Bot" button. Here, you can give your chatbot a name that reflects its purpose or objective. Make sure it's unique and easy to remember.
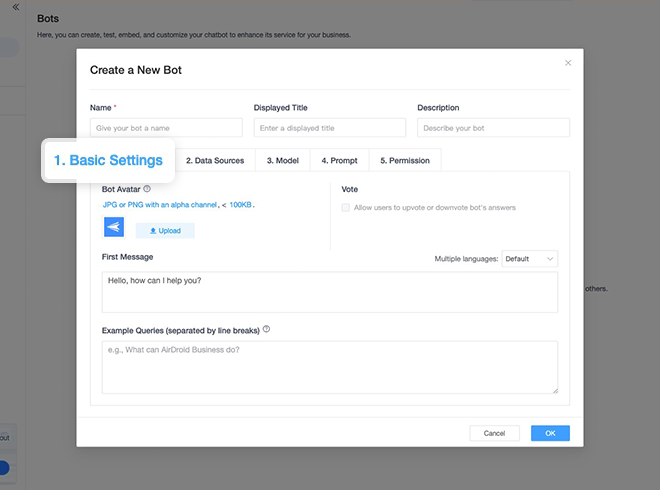
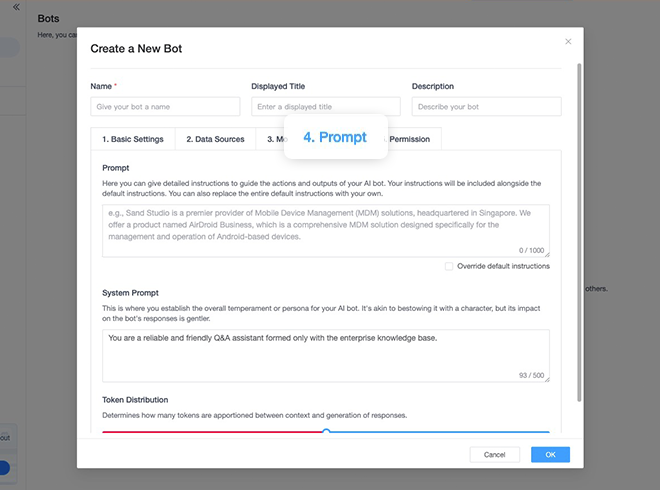
- Step 2: Customize your bot by completing: Basic Settings, Data Sources, Model and Prompt.
●Set Up Basic Settings: Configure avatar, first message, and example questions for your bot.
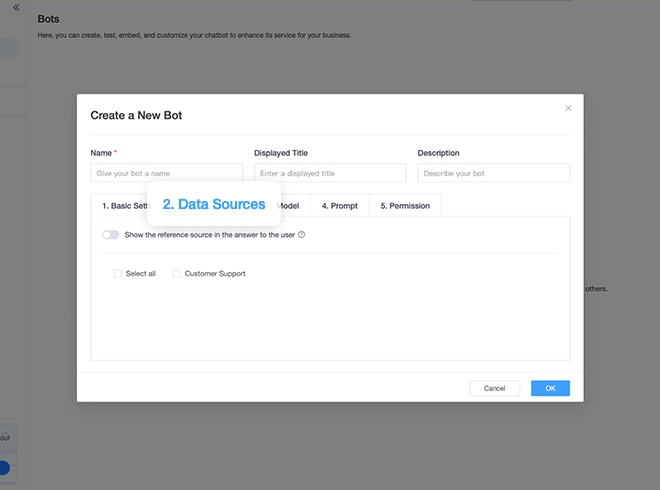
●Select Data Sources: Specify the knowledge base you have created. This is framing the range of knowledge that your bot can answer.
●Choose Model: From here, you can set up your bot temperature and relevance of refences.
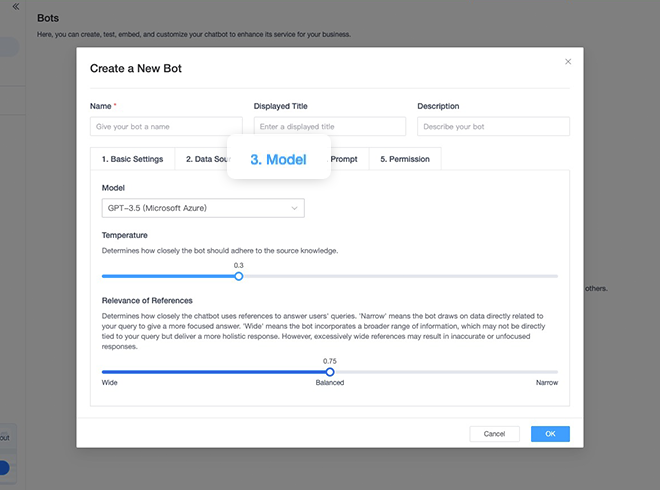
①Temperature: Set the temperature to determine how closely the bot adheres to your knowledge base.
②Relevance of References: You can determine how closely the chatbot uses references. 'Narrow' means the bot focuses on directly related data. 'Wide' means the bot incorporates a broader range of information for a holistic response.
●Set Up Prompt: From here, you can set up new rules to guide the outputs of your AI bot as needed. Please note that ChatInsight has already set up default prompt rules so it is optional if you do not have specific rules to set up.
3Chatbot Testing
The build-in testing tool allows you to test your chatbot's performances directly.
- Step 1: After setting up chatbot, you can test your chatbot by simply clicking your bot name, and enter into the chat screen.
- Step 2: Here, you can check whether everything works as intended before your chatbot connects with users. ChatInsight.AI can detect the language in which your users are communicating and respond accordingly, ensuring that they receive the information they need in their preferred language.
4Share ChatInsight Chatbot
Seamlessly integrate your chatbot with a shareable URL link, iFrame inlink embed, or popup widget embed, ensuring easy access for your employees or customers.
- Step 1: Click " Share" icon and " + New Share" button to cutomize bot’s style, such as the color, font size, to meet your brand needs.
- Step 2: Once you create a " New Share", you can click " </>" button to share it with URL, iFrame or Chat widget code.
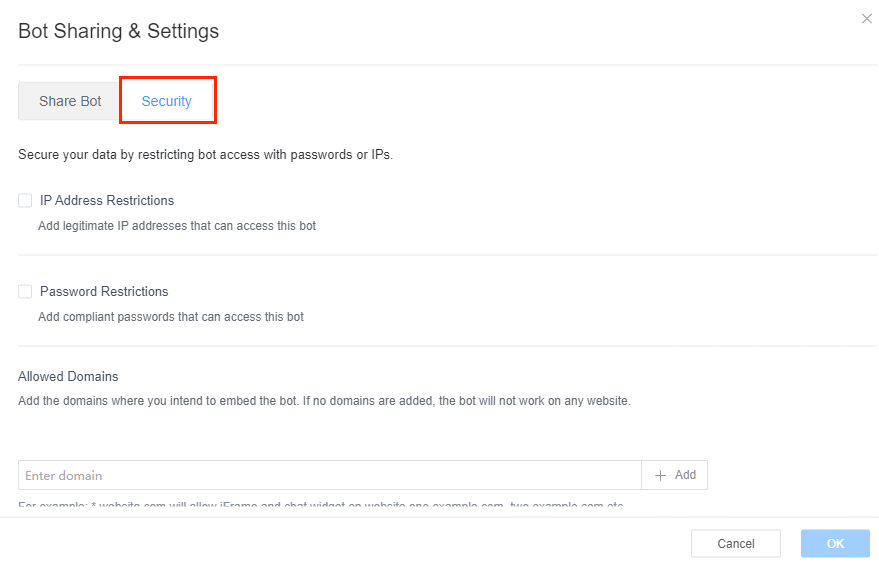
- Step 3: By clicking on " Security", you can safeguard your data by restricting bot access with passwords or IPs. Additionally, you can add the domains that are permitted to embed the bot.
5Check Conversations History
- Simply click on the " Conversations" button to view all the conversations of chatbots and the references of bot's answers. You have the option to optimize documents in order to enhance the accuracy of the answers.
