


Home > Quick Guides > How to Enable Telnet in Windows 10
Like
Dislike


How to Enable Telnet in Windows 10
Filed to: Quick Guides

Telnet is a protocol that allows you to communicate with remote devices. It's not enabled by default in Windows 10, but you can turn it on with these steps:
1
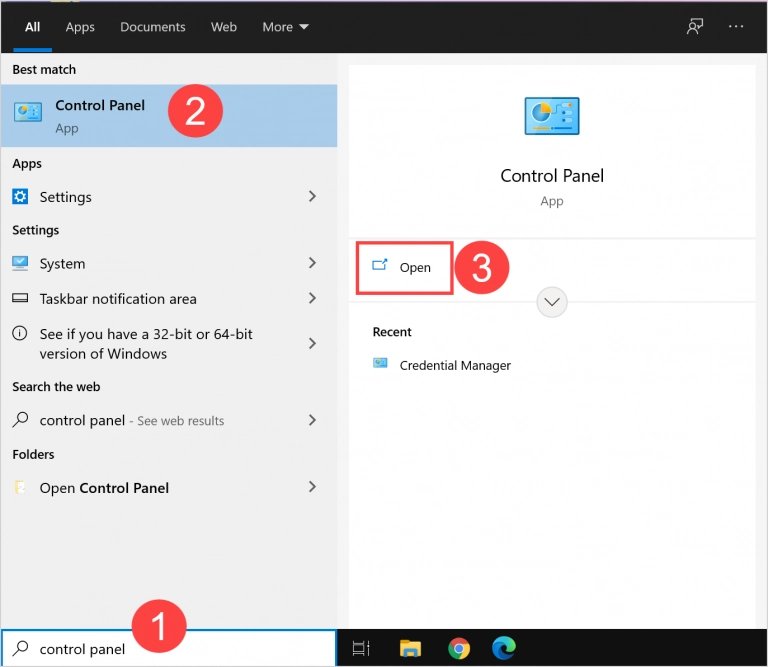
Open Control Panel
On your Windows 10 computer, click on the search bar or magnifying glass icon located on the taskbar.Type 'Control Panel' in the search bar and select the 'Control Panel' application from the search results.
2
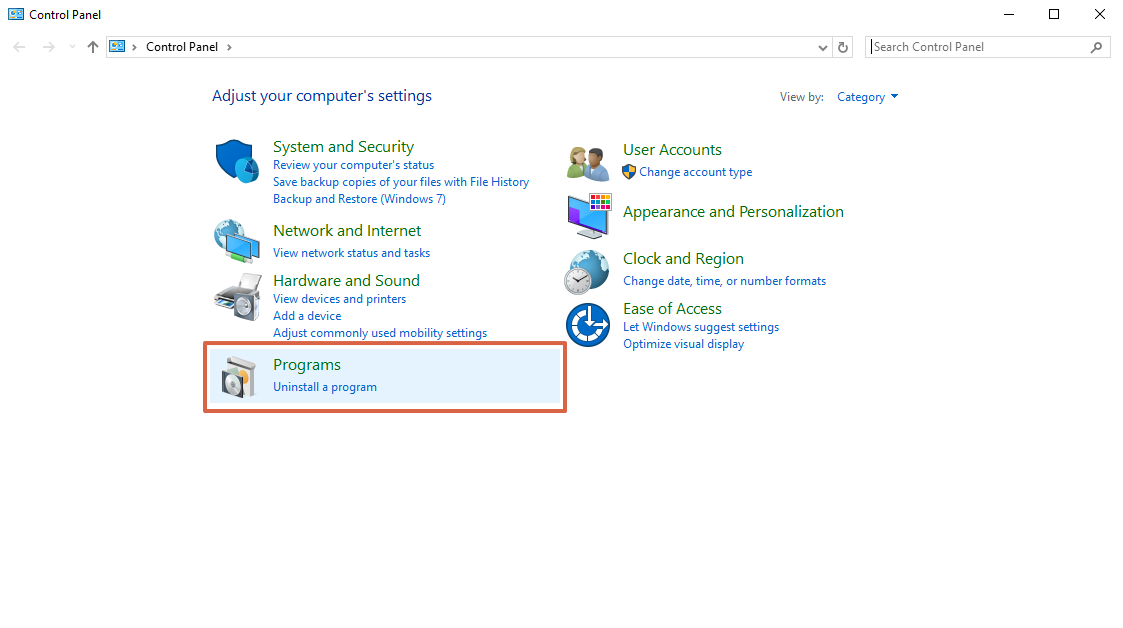
Select Programs
Within the Control Panel, find and click on 'Programs'.
3
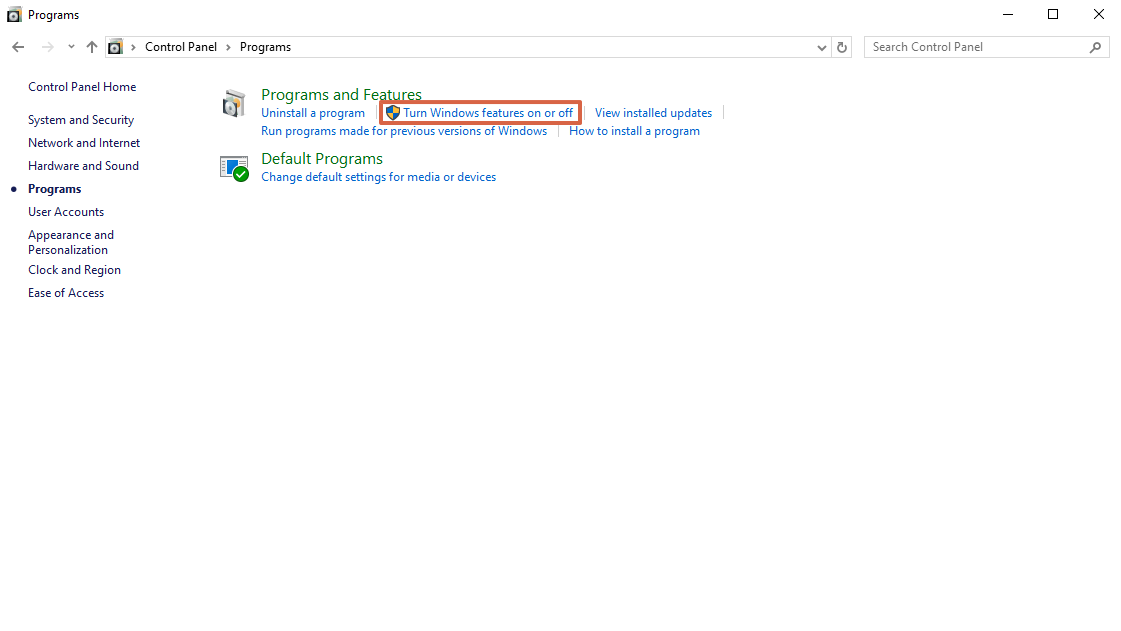
Go to Turn Windows Features On or Off
Under 'Programs', select 'Turn Windows features on or off'.
4
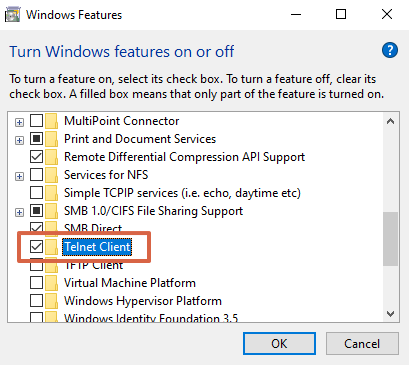
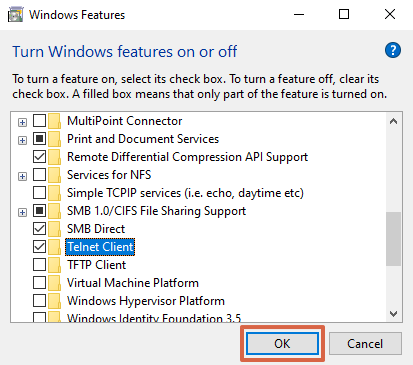
Enable Telnet Client
In the Windows Features dialog box, scroll down to 'Telnet Client'. Check the box next to it to enable Telnet.
5
Apply Changes
Click 'OK' to apply the changes. Windows will search for the required files, install the Telnet client, and notify you when the process is complete.
Get a Start with AirDroid Business Now
Discussion
The discussion and share your voice here.
Product-related questions?Contact Our Support Team to Get a Quick Solution>
Leave a Reply.