[Fixed] Your Remote Desktop Services Session Has Ended
There is no denying that Remote Desktop Services have become an essential tool for users. However, you might encounter various errors with the "Your Remote Desktop Services session has ended" error being one of the most frustrating ones. The good news is that you can troubleshoot this issue by following the methods in this guide.
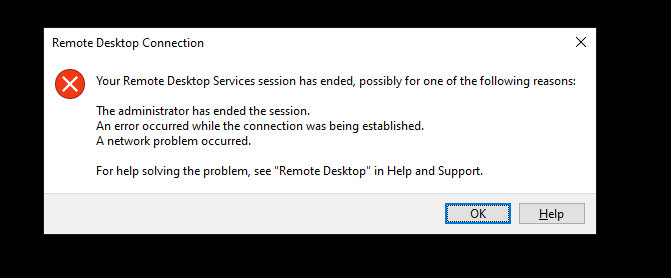
Part 1. Why Does It Say Your Remote Desktop Services Session Has Ended?
First of all, you need to understand why you get the "Your Remote Desktop Services session has ended" error. Its most common causes are the following:
- Session Timeouts Due to Group Policy Settings: One of the reasons why you get this error message is due to Group Policy settings. Your organization’s administrators might have set session limits through Group Policy. Therefore, when a session exceeds the allowed time or remains idle for too long, it will end automatically while prompting this message.
- Expired or Misconfigured Licensing: Remote Desktop Services rely on proper licensing to function. This means that if the licensing has expired, or there are misconfigurations in the licensing server, you might see that your sessions end abruptly.
- Network Connectivity Issues: Many errors that you will encounter in Remote Desktop Services have to do with your network connection. This is also the case in the “Your Remote Desktop Services session has ended” error since it still requires a stable network connection.
- Resource Overload and Server Crashes: Another cause for this error is that the server hosting the remote desktop environment is experiencing a resource overload or has crashed. When this happens, all active sessions will end.
- Windows System Updates: In many cases, you might encounter a variety of issues when you have yet to install the latest Windows update. On the flip side, the update might also disrupt some of your existing apps.
Part 2. Common Scenarios of Your Remote Desktop Services Session Has Ended
Now that you know the potential causes for this error message, we will dig deeper into specific scenarios in which come across it.
1Session Ending After a Set Period of Time
One of the most common scenarios for this issue to occur is after a specific period of inactivity. The truth is that this particular case is often related to some Group Policy settings that control session timeouts. The administrators set these time limits to release unnecessary workload from the server. If that's the case for you, changing the Group Policy settings will resolve the issue.
2Disconnection Due to Expired Licensing
Another common scenario is when your license has expired or there is a misconfiguration in the licensing server. The solution in this case is to ensure that your RDS environment is properly licensed. Make sure to renew or reconfigure your license to avoid any interruptions in your workflow.
3Session Ending Abruptly Due to Network Interruptions
Network instability is undoubtedly another scenario where you will experience remote desktop disconnections. This might be an issue with a weak Wi-Fi connection, high latency, or even momentary outages from the ISP. Regardless of the type of disruption in the network, you will see that your remote sessions are ending abruptly. Therefore, the solution is to optimize your network settings and ensure that you have a stable connection at all times.
Part 3. Troubleshooting Steps for Your Remote Desktop Services Session Has Ended Error?
1Change Session Time Limits from the Group Policy Settings
The first method to fix the "Your Remote Desktop Services session has ended" error is to modify the session time limits from your Group Policy settings. Here is how to do that:
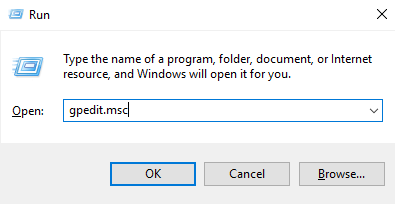
- Step 1.Open the Group Policy Management Editor by pressing Win + R and typing gpedit.msc.
- Step 2.Go to Computer Configuration > Administrative Templates > Windows Components > Remote Desktop Services > Remote Desktop Session Host > Session Time Limits.
- Step 3.Locate the policies Set time limit for active but idle Remote Desktop Services sessions and Set time limit for disconnected sessions.
- Step 4.Double-click on each one and adjust the session limits according to your needs. For instance, you can extend the session time, remove idle time limits, or disable the timeout entirely.
- Step 5.Click Apply and restart the server for the new policy settings to take effect.
2Disable WDDM Graphics Display Driver from the Group Policy Settings
Another effective method is to disable to WDDM graphics display driver from the Group Policy settings. To do that, you need to follow these steps:
- Step 1.Open the Local Group Policy Editor by typing gpedit.msc in the Run window (Win +R).
- Step 2.Go to Local Computer Policy > Computer Configuration > Administrative Templates > Windows Components > Remote Desktop Services > Remote Desktop Session Host > Remote Session Environment.
- Step 3.Find the policy Use WDDM graphics display driver for Remote Desktop Connections.
- Step 4.Double-click on it and select the Disabled option.
- Step 5.Click OK and restart your computer.
3Enable "Turn off the UDP" from the Group Policy Settings
Another Group Policy setting that you can change is "Turn off the UDP". Here are the steps to do that:
- Step 1.Press Win +R and type gpedit.msc to open the Local Group Policy Editor.
- Step 2.Go to Local Computer Policy > Computer Configuration > Administrative Templates > Windows Components > Remote Desktop Services > Remote Desktop Connection Client.
- Step 3.Find the policy Turn off UDP on Client.
- Step 4.Choose the option Enabled and click OK to apply the changes.
4Optimize Network Settings
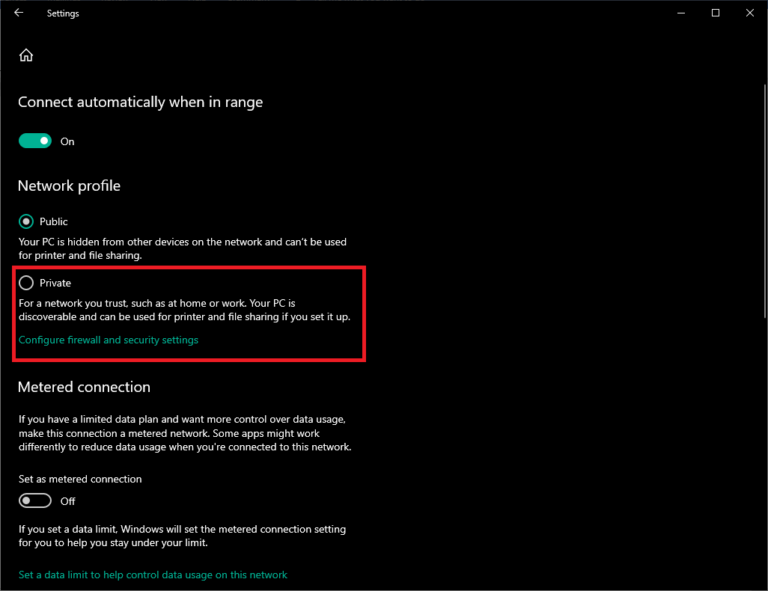
The following method shows you how to modify the properties of your network to optimize it and ensure that it won't cause any issues in your remote sessions. Here are the steps to complete it:
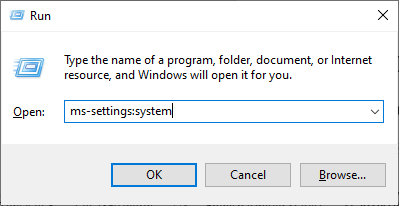
- Step 1.Open the Run dialogue with Win + R, and type ms-settings:system to open Windows Settings.
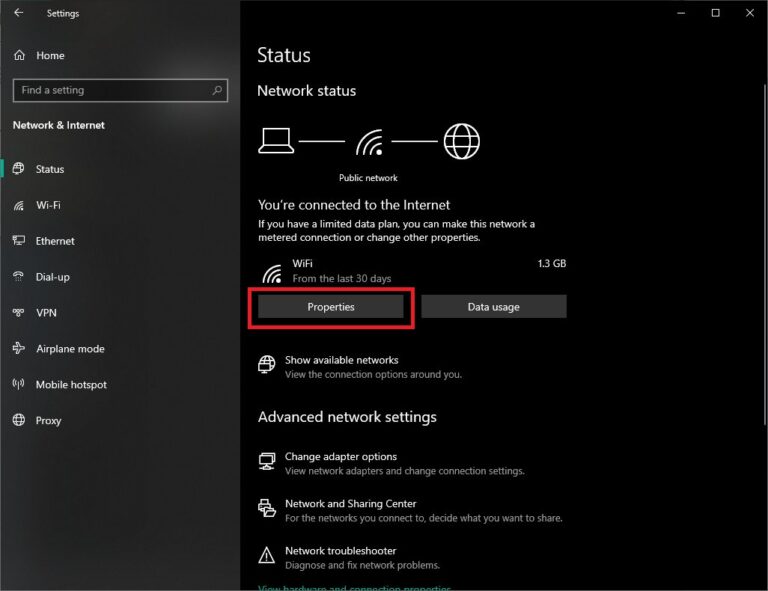
- Step 2.Click Network & Internet and then click the Properties button under your network.
- Step 3.Select the Public option to change the network properties.
5Enable the WLAN and WWAN Services
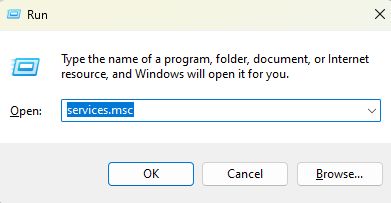
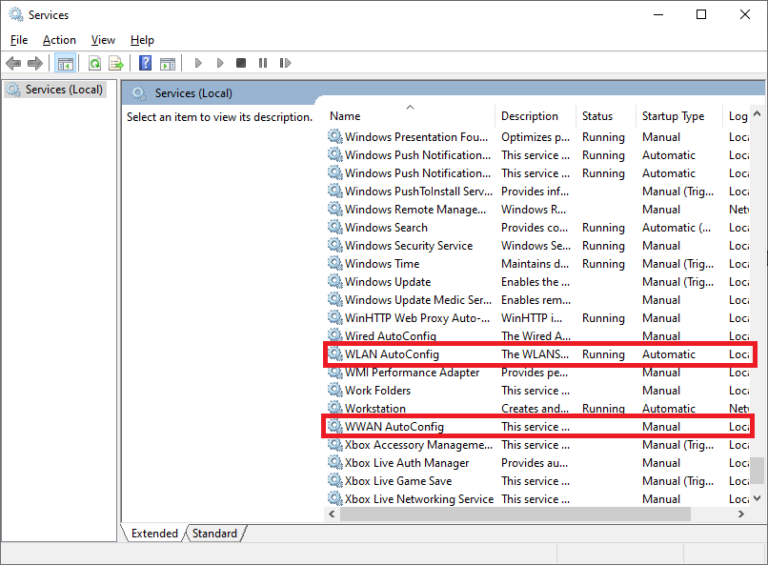
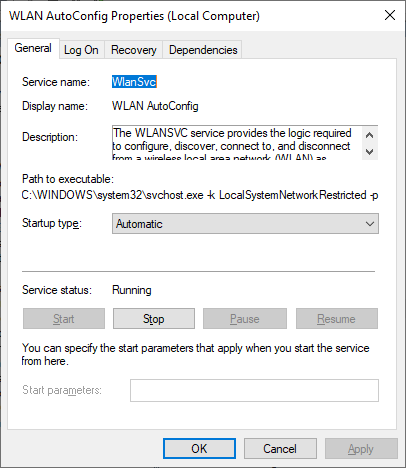
Finally, it is important to ensure that the WLAN and WWAN services are enabled. Here is how to do that:
- Step 1.Press Win + R and type in services.msc to open Services.
- Step 2.Locate WLAN Autoconfig and WWAN Autoconfig and check if they are running.
- Step 3.If not, right-click on them and select Properties. On the new window, set the Startup type to Automatic.
- Step 4.Restart your computer.
Part 4. Best Remote Desktop Software You Should Know
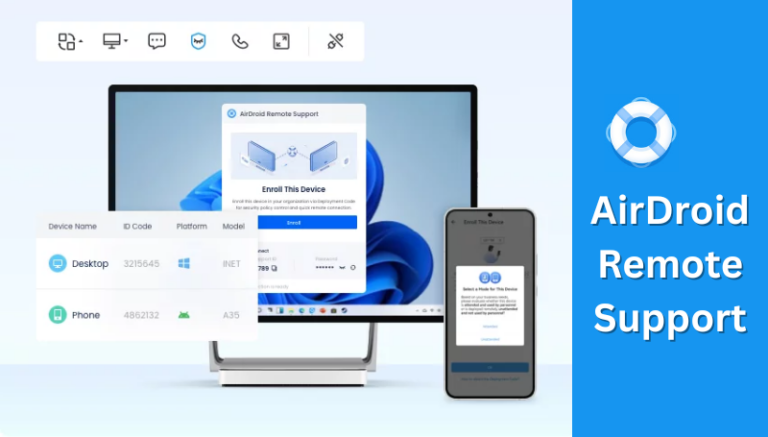
If you’re facing persistent issues with Remote Desktop Services, you might find it hard to complete your work. For this reason, you will benefit from exploring alternative remote desktop solutions. One highly recommended tool is AirDroid Remote Support, which offers everything you might need for a seamless and error-free experience.
Why Choose AirDroid Remote Support
- Real-Time Screen Sharing: The tool allows users to share their screens in real-time. This feature is particularly useful in remote support sessions as it makes communication much more efficient.
- Unattended Access: You can select whether to set up your devices as attended or unattended. This way, you can access devices remotely even when no one is on the other end. And with the innovative Black Screen Mode, you don’t need to worry about your privacy.
- Secure Remote Control: AirDroid Remote Support uses b encryption on every session to guarantee the safety of your data.
- File Transfer: The tool has a built-in chat window, which you can use to not just exchange messages with the other user but to also transfer files between your devices.
Steps to Use AirDroid Remote Support
- Step 1.Download AirDroid Remote Support from the official website. Click the Download button at the top of the page and select the appropriate installers for your devices. Namely, download AirDroid Business from the "Supporter" section and AirDroid Remote Support from the "Supportee" section.
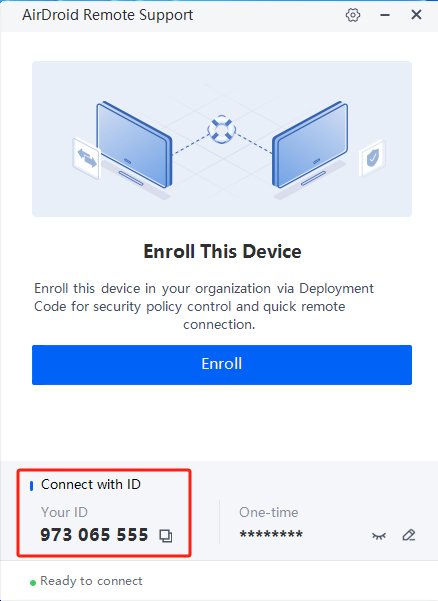
- Step 2.Launch AirDroid Remote Support on the remote device and copy your ID under the Connect with ID section.
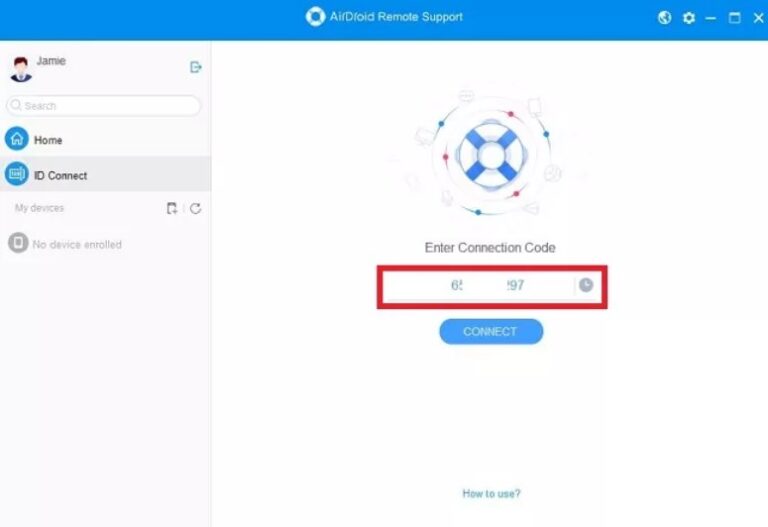
- Step 3.Launch AirDroid Business on the local device and click ID Connect on the sidebar.
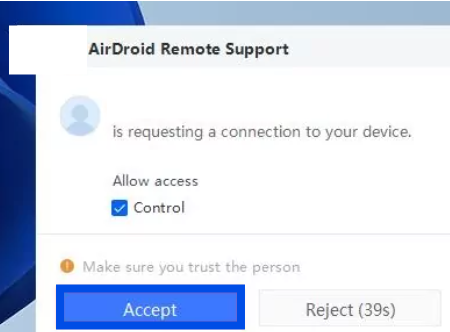
- Step 4.Type the 9-digit ID from AirDroid Remote Support and click the Connect button to initiate the remote connection.
In Conclusion
The "Your Remote Desktop Services session has ended" error is one more issue you might encounter with using Remote Desktop Services. Follow the methods we have explained in this article to troubleshoot it.
However, you can also find an alternative solution that provides you with a reliable way to establish remote connections. Give AirDroid Remote Support a try and experience a seamless and effortless remote support experience.


Leave a Reply.