How to Connect iPhone to Projector ?
There are always some times you need to connect your iPhone to a projector, whether for a professional setting or simply want to share photos and videos with friends and family. This blog will walk you through various methods, including wired and wireless options, to ensure a seamless connection and optimal display quality.
In this guide, we'll provide a step-by-step breakdown of how to connect iPhone with projector, guaranteeing a seamless connection every time.
Part 1: How to Connect iPhone to Projector with AirPlay?
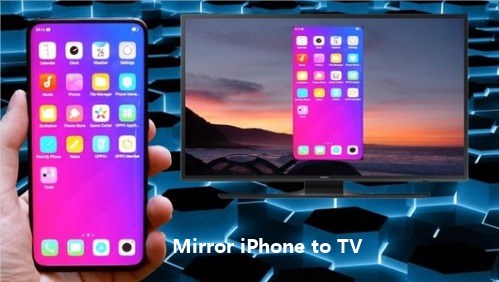
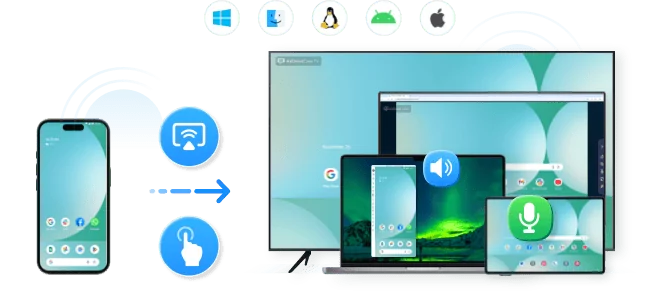
Screen mirroring your iPhone to a projector using AirPlay is a simple and effective way to display your content on a larger screen.
What is Required for Using AirPlay with a Projector?
To use AirPlay for projector screening, you need a few things set up. First, ensure you have an iPhone or another Apple device and an AirPlay-compatible projector. You’ll also need to be running a compatible iOS version. And that’s it!
How to AirPlay for Projector?
- Step 1. Enable AirPlay on the Projector
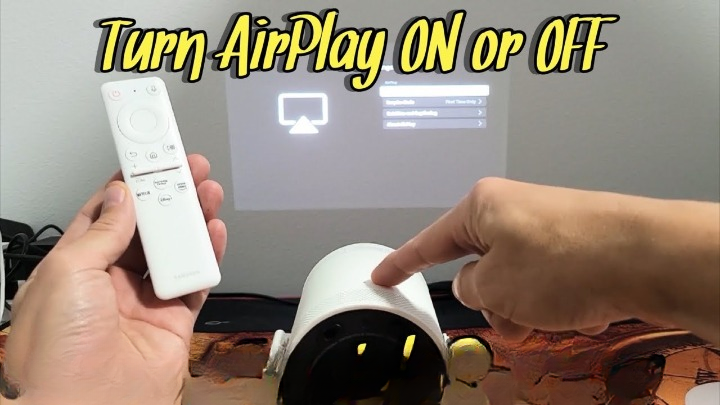
First, you need to turn on AirPlay on your projector. The process may vary for different models, but generally, you go to the menu, select "All Settings," then "Connection," and find "AirPlay Settings." Make sure it’s turned on so your projector can communicate with your iPhone.

- Step 2. Connect Devices to the Same Wi-Fi Network
Ensure both your iPhone and projector are on the same Wi-Fi network. This is essential because AirPlay uses Wi-Fi to send the content from your iPhone to the projector. Without this, the devices won’t connect.
- Step 3. Open Control Center and Activate Screen Mirroring
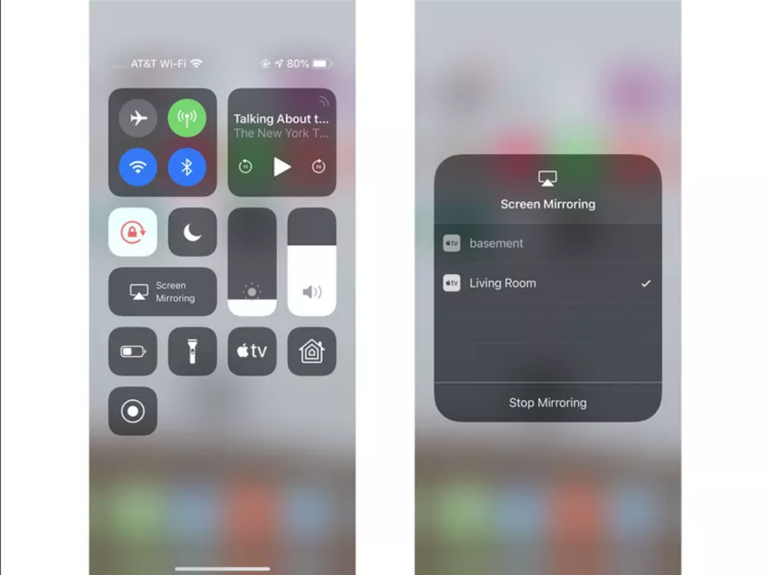
Access the Control Center by swiping down from the top right corner on iPhone 8 and newer models, or swiping up from the bottom on older models. This is where you’ll find the screen mirroring options.
In the Control Center, tap "Screen Mirroring." A list of available devices will appear. Select your projector from the list to establish the connection. This tells your iPhone to start sending its display to the projector.

- Step 4. Enter the Code
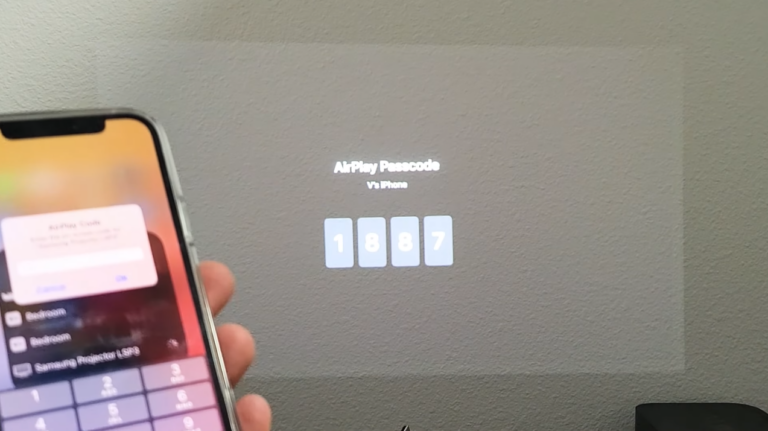
Your projector will display a four-digit code. Enter this code on your iPhone to confirm the connection. Once you do this, your iPhone’s screen will be mirrored on the projector, allowing you to display anything you like.

- Step 5. Enjoy Wireless Projection
Now that your iPhone is connected, you can start projecting your content wirelessly. Whether you’re showing a presentation, streaming a video, or displaying photos, you can enjoy a seamless and cable-free experience.
- Step 6. Disconnect and Finish
When you’re done, it’s easy to disconnect. Go back to the Control Center, tap on "Screen Mirroring," and select "Stop Mirroring." This will end the connection and return your iPhone to its normal display mode.
Following these steps will help you easily connect your iPhone to a projector using AirPlay, ensuring a smooth and efficient way to share your content on a larger screen.
Part 2: Connect iPhone to Projector via HDMI
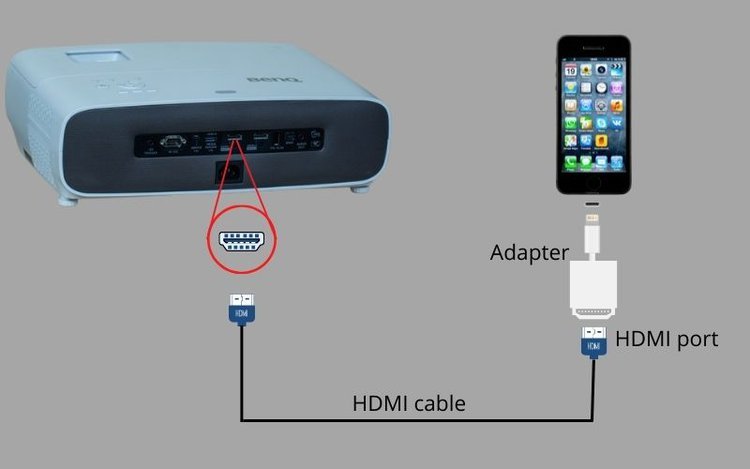
Another reliable method for connecting your iPhone to a projector is through an HDMI cable, which offers a stable and high-quality display of your iPhone’s screen on a larger scale. Here’s how you can set it up step by step:
- Step 1. Get a Lightning to HDMI Adapter
This is a special adapter that connects to your iPhone's charging port and offers an HDMI port on the other end. You can find these adapters online or at most electronics stores.
- Step 2. Connect the Projector and Phone with the Adapter

- Step 3. Switch the Projector to HDMI Mode
Turn on your projector and switch its input to HDMI. This might be done using a remote control or through a button on the projector itself, often labeled as "Input" or "Source."
- Step 4. Check Your iPhone's Screen on the Projector
Once connected, your iPhone should automatically start mirroring its screen to the projector. You might see a brief notification or the screen might adjust its resolution.
With everything set up, you can now open any app, video, or presentation on your iPhone. It will be displayed on the big screen, making it perfect for larger audiences.
Part 3: Tips to Optimize Your AirPlay Experience
To ensure a smooth and enjoyable AirPlay experience, follow these best practices for a stable connection:
■ Strong Wi-Fi Signal:
Ensure your Wi-Fi signal is strong and stable. Place your router in a central location and avoid physical obstructions that can weaken the signal.
■ Update Your Devices:
Keep your iPhone, projector, and any other connected devices updated with the latest software versions. Updates often include performance improvements and bug fixes.
■ Use a Dedicated Network:
If possible, use a dedicated Wi-Fi network for your AirPlay devices to minimize interference from other devices.
■ Reduce Interference:
Limit the number of devices connected to your Wi-Fi network. Too many devices can cause congestion and slow down your connection.
■ Proximity:
Ensure that your iPhone and projector are within a reasonable range of the Wi-Fi router to maintain a strong connection.
■Restart Devices:
Occasionally restart your iPhone, projector, and router. This can help refresh the connection and resolve any temporary issues.
■ Disable Bluetooth:
If you experience lag or disconnections, try turning off Bluetooth on your iPhone, as it can sometimes interfere with Wi-Fi signals.
Part 4: Conclusion
Connecting your iPhone to a projector using AirPlay or HDMI is a simple and efficient way to share content on a larger screen. Optimize your experience with the provided tips for a stable connection, ensuring seamless and high-quality streaming every time. Enjoy your presentations, movie nights, and more with ease.
We'd love to hear your thoughts and experiences! Please share your comments below and let us know how connecting your iPhone to a projector has enhanced your presentations or gatherings.





Leave a Reply.