How to Play Diablo 4 on Mac (5 Methods)
Diablo 4 is a fantastic hack-and-slash ARPG with a lot of content to dive into. But, there is some bad news, as the game’s presence on Apple’s Macs is non-existent. So today, we’re diving deep into all the ways to play Diablo 4 on Mac. We’ve included various methods to find the one you’re most comfortable with.
- Way 1: How to Play Diablo 4 on Mac via Corssover?
- Way 2: How to Play Diablo 4 on Mac via airGPU?
- Way 3: How to Play Diablo 4 on Mac via macOS Sonoma Compatbility?
- Way 4: How to Play Diablo 4 on Mac with Remote Desktop Software?
- Way 5: How to Play Diablo 4 on Mac Using Boot Camp?
- Bonus Tip: Screen Mirror Gameplay to Mac from Windows
1. How to Play Diablo 4 on Mac via Corssover?

The first method to play Diablo 4 on Mac is by using CrossOver. CrossOver is a software that translates Windows commands into a format that your Mac can understand. It will automatically detect and install necessary APIs, plugins, and components to make the Windows app work natively on your Mac.
You need to purchase a license for CrossOver Mac which is a one-time $64 purchase. You can also try out the software with a 14-day trial before committing.
To get started, follow the guide below:
- Step 1.Download the CrossOver app on your Mac. Install the app and launch it.
- Step 2.Register your CrossOver software if you’ve already purchased it. Otherwise, select ‘Try Now’ to start the 14-day trial.
- Step 3.On the CrossOver app home screen, select the search bar in the top-left-hand corner. Type in Steam.
- Step 4.Purchase and download Diablo IV on Steam. Once downloaded, launch the game to start playing!
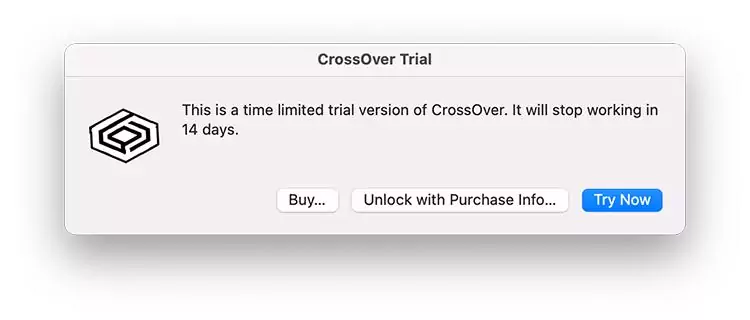
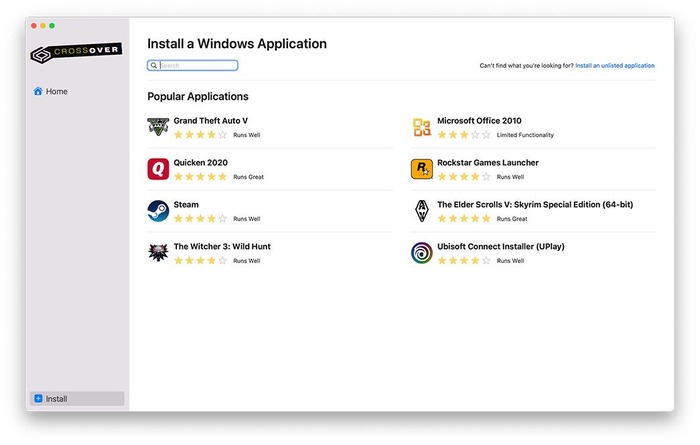
This method runs Windows apps natively without needing to use a virtual machine or emulator, but it only works on Macs with Apple Silicon.
2. How to Play Diablo 4 on Mac via airGPU?
airGPU is a cloud PC platform that allows you to ‘rent’ PCs. There’s a variety of configurations to choose from, making it a fantastic option to play AAA games like Diablo IV.
Create an account on the airGPU website. Select your cloud PC’s configuration with the type of GPU you want, how much RAM it has, and the amount of storage.
Once you’ve set up the configuration, select ‘Create Machine’. Add credit to your account and select ‘Start’ to operate your cloud PC. However, you need additional software to access the cloud PC. Follow the guide below:
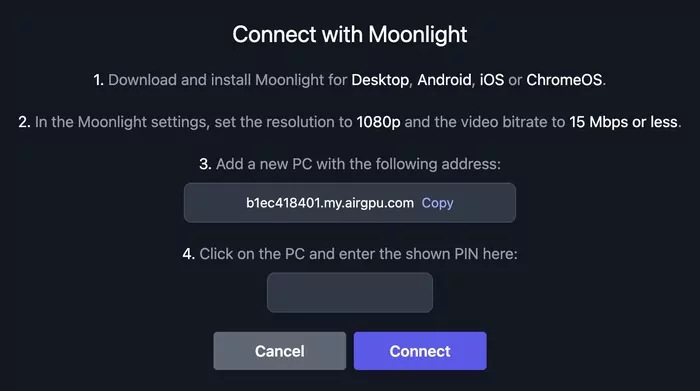
- Step 1.On the airGPU dashboard, select ‘Connect with Moonlight’. You’ll see a pop-up with your cloud PC’s details.
- Step 2.Download and install ‘Moonlight’ on your Mac.
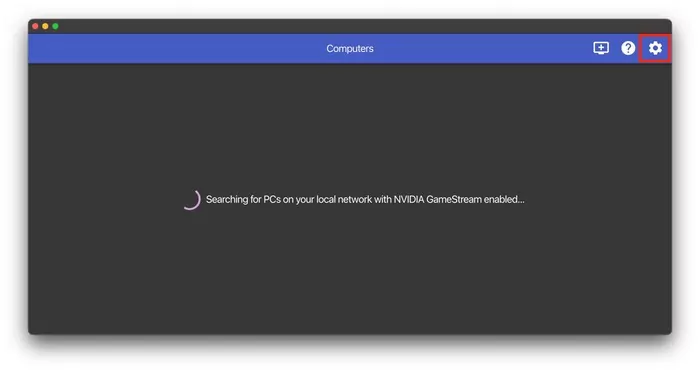
- Step 3.Once installed, open Moonlight.
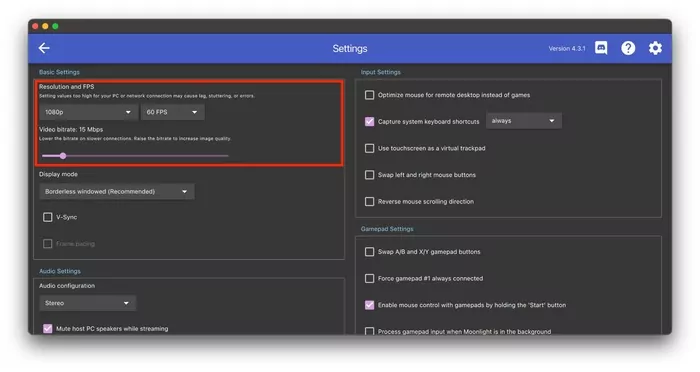
- Step 4.Select ‘Settings’ (Gear icon in the top-right corner).
- Step 5.Set the resolution and bitrate as specified in the pop-up from step 1.
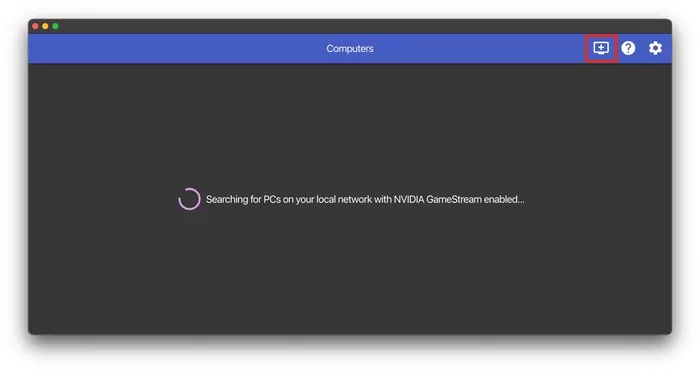
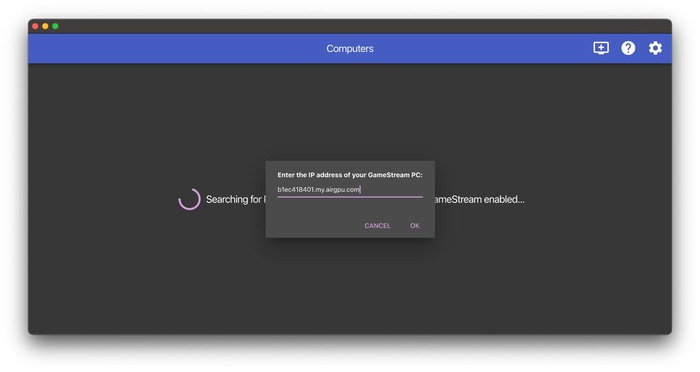
- Step 6.Go back to the home screen and select the ‘+’ icon to add your airGPU cloud PC to Moonlight.
- Step 7.Paste the URL from the pop-up in step 1 here.
- Step 8.You’ll find the airGPU cloud PC listed on the Moonlight home screen. Select it and check the pop-up. It will display a PIN to unlock your airGPU cloud PC. Copy it.
- Step 9.On your airGPU dashboard, enter the PIN in the dialog box from step 1. Then hit ‘Select’.
- Step 10.Once linked, select the airGPU PC on the Moonlight home screen.
- Step 11.Download Steam and purchase and install Diablo IV on your cloud PC to start gaming.
Note: While the pricing for using the cloud PC is calculated by hour, storage is paid monthly.
3. How to Play Diablo 4 on Mac via macOS Sonoma Compatibility?
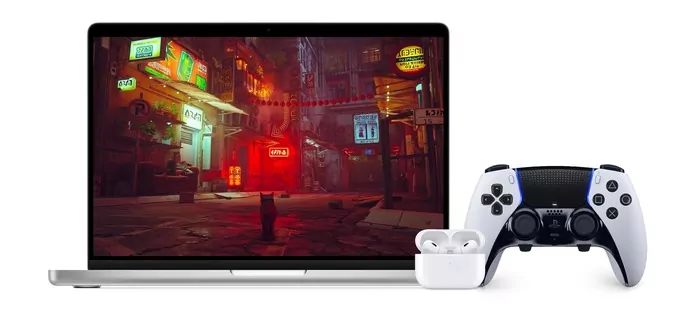
With the release of the latest macOS version, macOS Sonoma 14, Apple announced the Game Porting Toolkit. These dev tools allow game developers to test their games on Mac to understand what’s needed to start the porting process.
However, this also allows users to play Windows games themselves. The downside is this method is complicated. You need to know what you’re doing since you’ll be coding on your Mac.
Before you can use the Game Porting Toolkit, your Mac needs to be on the latest macOS Sonoma. Additionally, you need an Apple Developer account to download the required tools.
We’ve linked a Reddit guide here with a video clip of Diablo 4 running on a Mac and explaining how to use this method.
4. How to Play Diablo 4 on Mac via Remote Desktop Software?
Similar to Moonlight, Parsec is a remote desktop platform that allows you to stream other PCs on your Mac and play co-op with your friends. There are a few paid plans, but you don’t need them to play Diablo 4 on Mac using this method.
However, you will need a host PC to stream from and a fast, and stable internet connection for this to work optimally. For example, platforms like airGPU allow access to a cloud PC that can sync with Parsec. Alternatively, if you have a friend with Diablo 4 on their PC and is willing to let you stream from it, that works too.
Here’s a guide on how to get started:
- Step 1.Download Parsec for macOS.
- Step 2.Open your Downloads folder and run the install package.
- Step 3.Complete the installation.
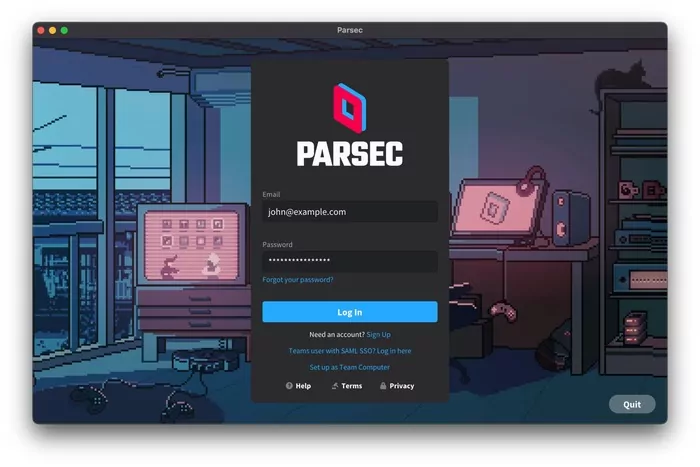
- Step 4.Launch the Parsec app on your Mac and log in or create an account.
- Step 5.On your host PC login to the same Parsec account or add a friend to host their PC.
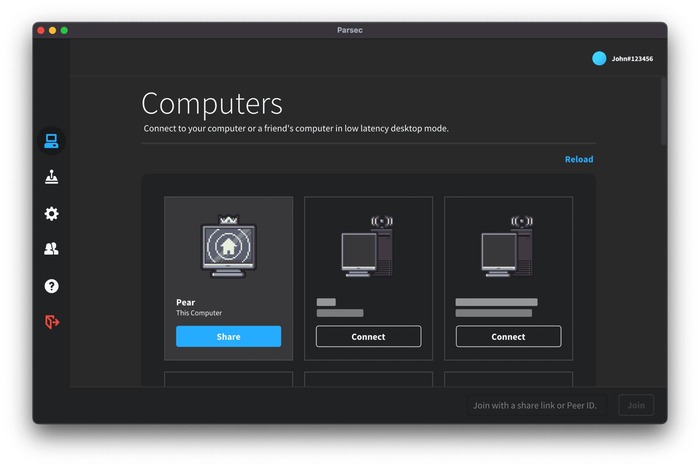
- Step 6.Select ‘Connect’ under the PC you want to connect to to play Diablo IV.
- Step 7.Open Steam or Battle.net from your Mac device.
- Step 8.Download and install Diablo IV and start playing!

5. How to Play Diablo 4 on Mac via Boot Camp?
Boot Camp is the only official method from Apple to install Windows on a Mac. The caveat is this only works for Intel-based Macs, so your laptop/desktop needs an Intel Core processor.
There are a few additional requirements for your Mac before you can use Boot Camp:
- Latest macOS Updates
- 64GB Storage or more (recommended 128GB or above) Free Space
- External USB Flash Drive with 64-bit Windows Installation File
You can download Windows from the Microsoft site linked here. Download the file and store it on a flash drive for now. You should also create a backup of your Mac’s data just in case. Do that before proceeding to the next steps:
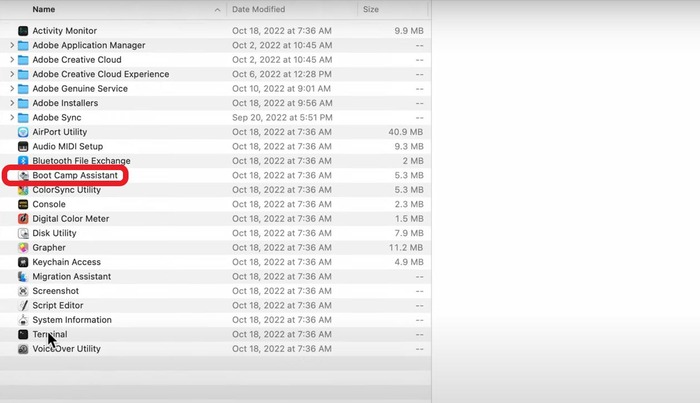
- Step 1.Open Boot Camp Assistant. You’ll find it in Utilities under the Applications folder.
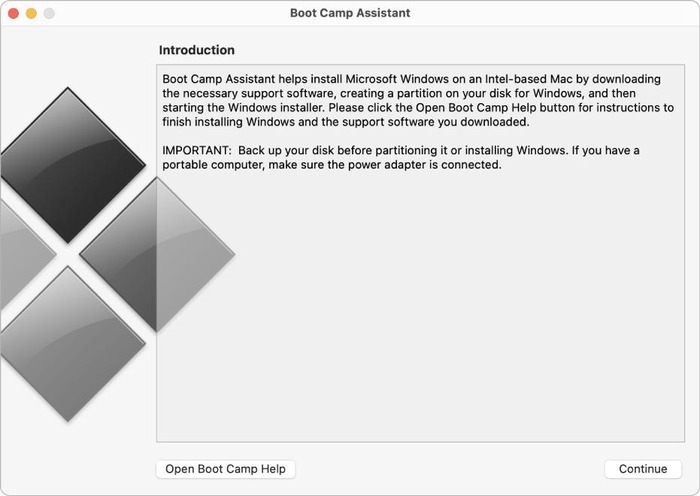
- Step 2.Follow the on-screen instructions.
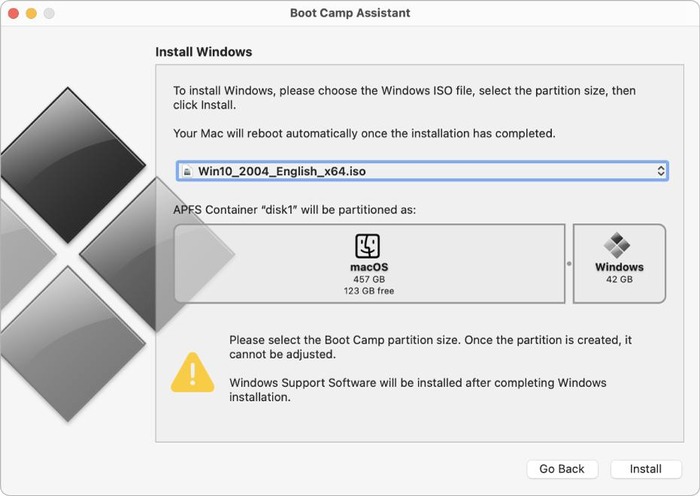
- Step 3.Create a partition for Windows. Make sure at least 64GB is allocated.
- Step 4.If prompted, plug in the USB drive with the Windows ISO file.
- Step 5.Wait for your Mac to restart. It will display the Windows installer. Complete the installation.
- Step 6.Once Windows is installed, your Mac will restart and open it in Windows to a “Welcome to the Boot Camp Installer” screen. Follow the on-screen instructions to complete the setup and download the necessary drivers for Windows.
- Step 7.Download Steam and Diablo 4 to the Windows partition on your Mac to start playing.
6. Bonus Tip: Screen Mirror Gameplay to Mac from Windows
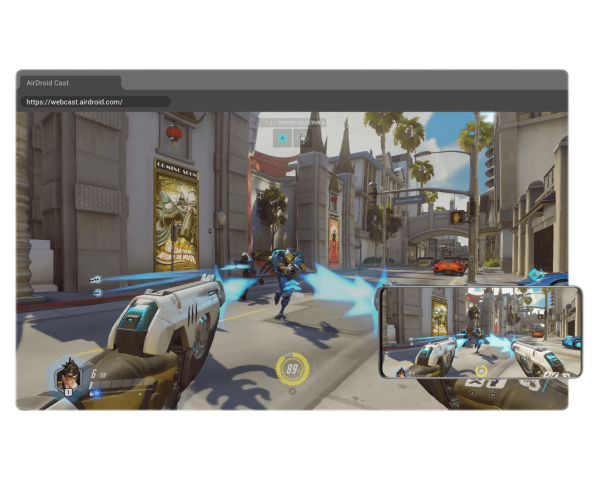
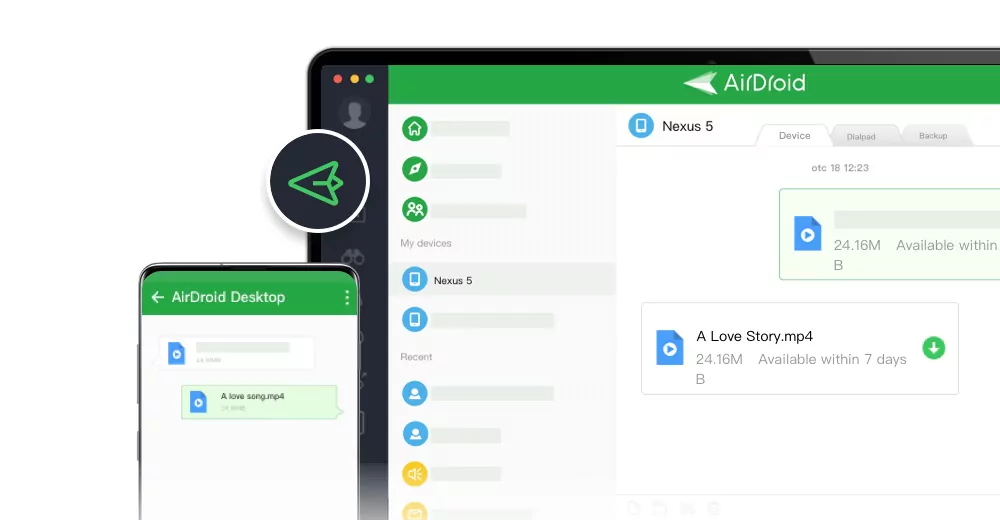
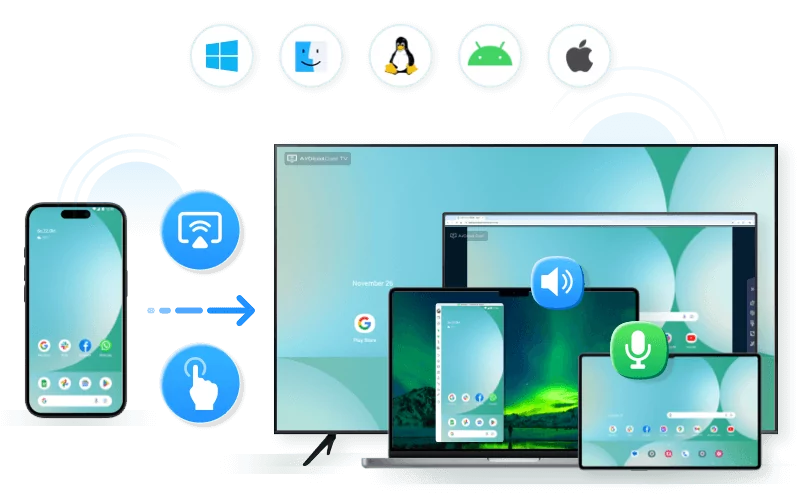
With AirDroid Cast, you can cast any device to your Mac and vice versa. With plentiful platform support including Android, iOS, macOS, Windows, and a web platform. AirDroid cast also supports local and remote connectivity options.
Therefore, you can screen share the gameplay between these devices, including Diablo 4.
7. Final Words
We’ve reached the end of our guide on playing Diablo 4 on Mac. As you can tell, it’ll take a lot of effort to get the game running on your Mac. It’s unfortunate AAA games like Diablo 4 aren’t available on macOS natively.
But the good news is, there are a few dependable workarounds to this problem. And with Apple now transitioning to support more PC games with dev tools like Game Porting Toolkit, it’s only a matter of time till we see more games embracing macOS.
Frequently Asked Questions






Leave a Reply.