A Simple Guide on How to Use WhatsApp on BlueStacks
Having millions of active users, WhatsApp is primarily a phone app. But what if you want to use this stellar instant messaging program on your PC without using your smartphone?
Luckily, you don’t need to carry a phone to keep using WhatsApp and that’s exactly why we are here. In this article, you are going to learn how to use WhatsApp on BlueStacks safely and conveniently.
In addition, it will outline a few other solutions to enjoy WhatsApp service without using a phone. Let’s find out!

1How to Use WhatsApp via BlueStacks
The best thing about using BlueStacks WhatsApp is it doesn’t have anything to do with a smartphone. You can use it directly on any PC anytime you want. Check out the below steps for how to use WhatsApp on BlueStacks:
- Step 1. Head to BlueStacks.com on your web browser.
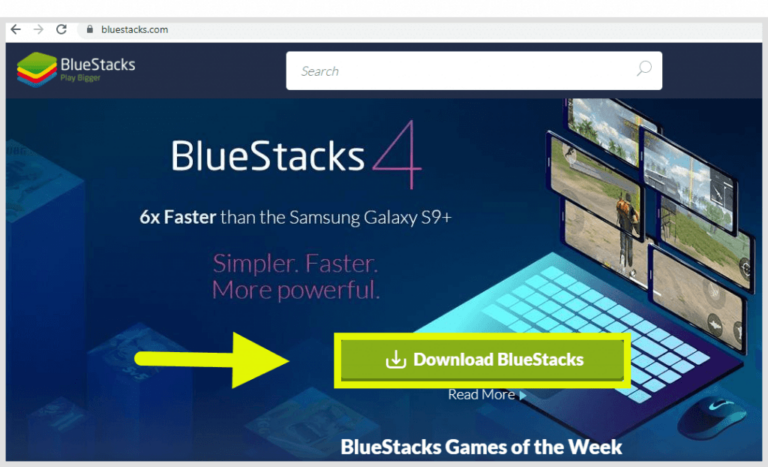
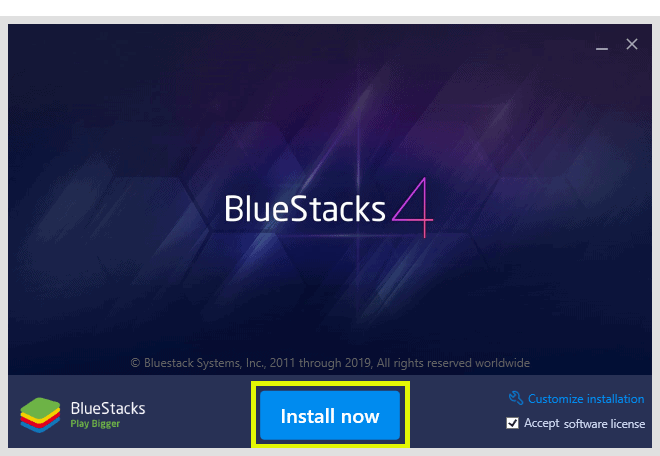
- Step 2. Next, hit the Download button to save the BlueStacks WhatsApp download. Then, hit the Installer icon and follow the on-screen instructions to install it.
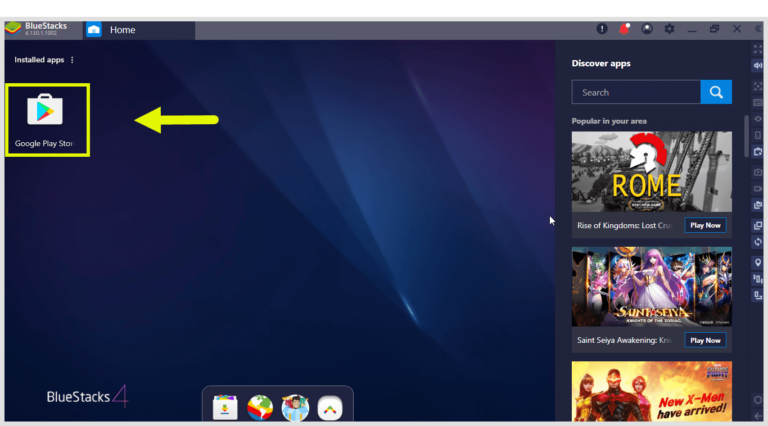
- Step 3. Now, launch the app and click on the Google Play Store icon. If asked, log in with your Google account.
- Step 4. Here, search for WhatsApp and install it.
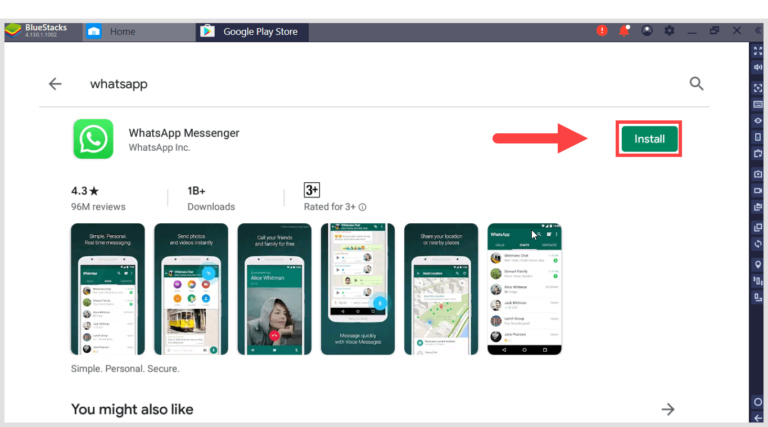
- Step 5. Once installed, click on the Open option to launch it and enter your phone number to get a verification code.
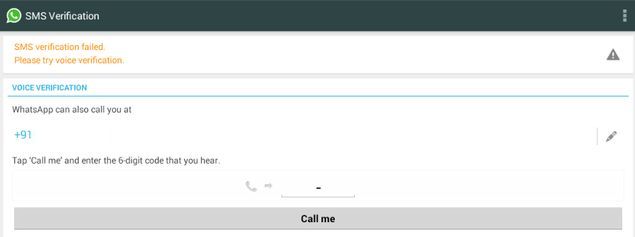
Enter this code to start using WhatsApp on your PC. Note that you won’t see any existing contacts BlueStacks app player WhatsApp. However, you will get new messages and you can also reply to them.
If you want to add contacts, click on the three dots icon on the top-right > Contacts. Click the contact icon on the top-right, next to search and save a contact. Then, you can start sending messages to new accounts as well.
Limitations of BlueStacks WhatsApp
Some of the major downsides of using WhatsApp APK BlueStacks include:
- 1. It doesn’t allow you to use WhatsApp on both phones and PC. Your phone will automatically stop receiving WhatsApp messages when you're using it on the desktop.
- 2. You have to check the code on your phone to verify your identity with WhatsApp BlueStacks.
- 3. You need to add the contacts manually to WhatsApp BlueStacks which can be quite time-consuming.
- 4. It’s difficult to switch WhatsApp between devices.
2How to Use WhatsApp Web
If you want to use WhatsApp on both your PC and smartphone at the same time, then we got you covered. Luckily, WhatsApp has a native web service that empowers users to sync their computer and phone with just a single click.
After that, you can see all your previous conversations as well as send and receive new messages on your web browser without using the BlueStacks QR code or anything whatsoever.
Follow the below steps to use WhatsApp Web without BlueStacks:
- Step 1. From your web browser, go to WhatsApp Web. You’ll see a QR code.
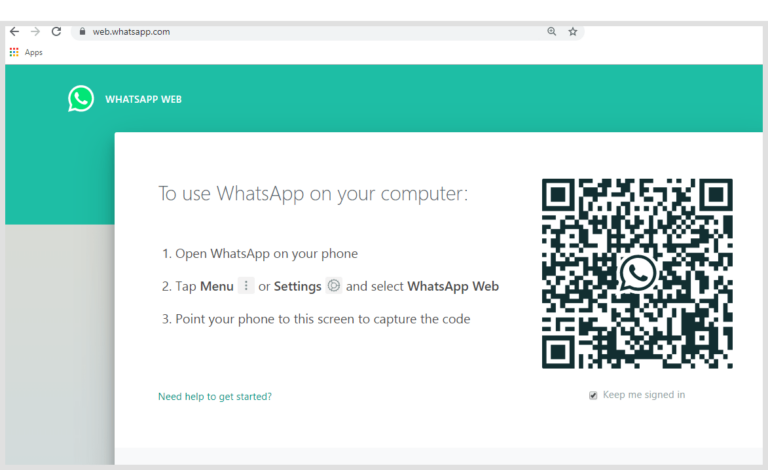
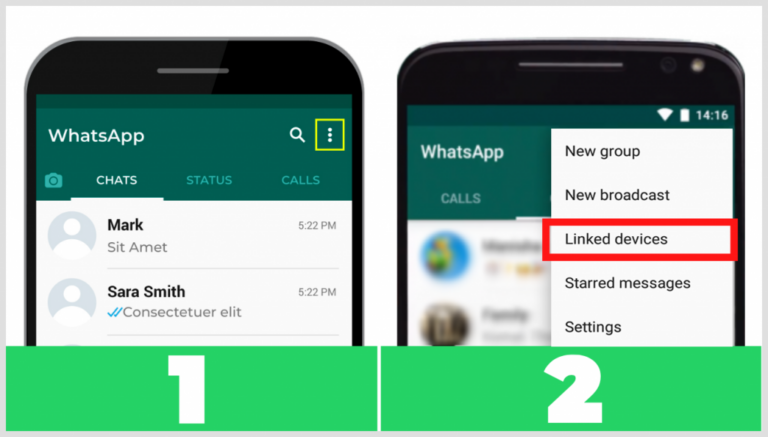
- Step 2. Next, open WhatsApp on your phone, tap the three dots icon > Linked Devices > Link a Device.

- Is you’re using an iPhone, go to WhatsApp Settings > Linked Devices > Link a Device to get a QR code.
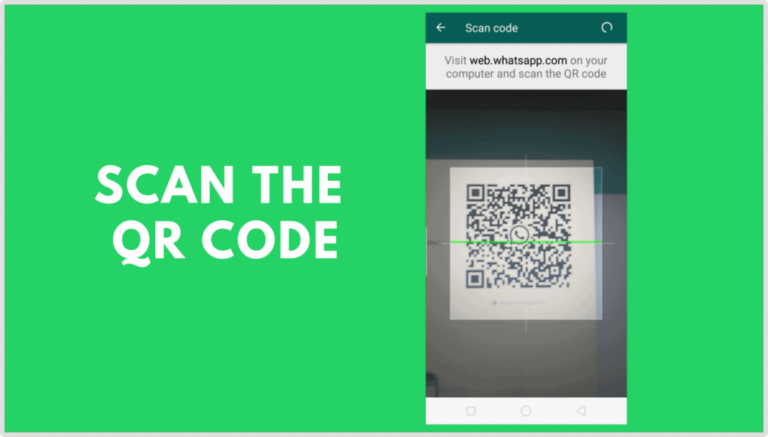
- Step 3. Scan the QR code on your phone to WhatsApp web to sync both devices.
- Step 2. Next, open WhatsApp on your phone, tap the three dots icon > Linked Devices > Link a Device.
- Step 4. Within a few seconds, the program will show your previous conversations on the browser.
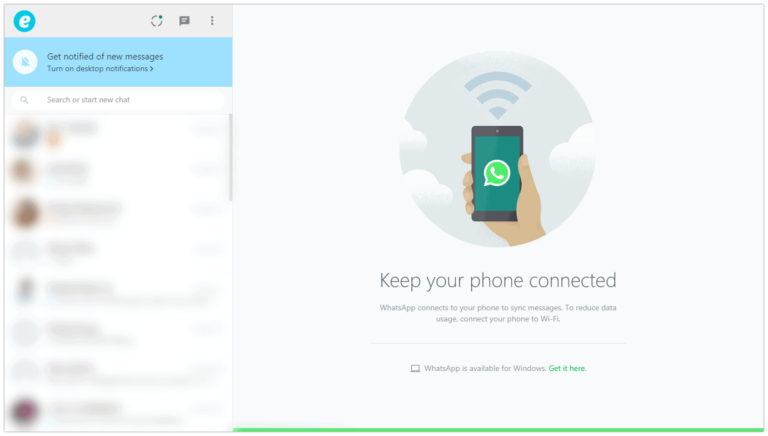
Compared to BlueStacks WhatsApp, this method is more suitable if you want to use WhatsApp regularly on both devices. Also, it doesn’t involve any installation on your PC, saving your time and effort.
3How to Use WhatsApp without BlueStacks
WhatsApp Web is a handy service for its convenience and ease of use. But many users report tons of connection issues while using it. Also, it often slows down your PC and disrupts other programs.
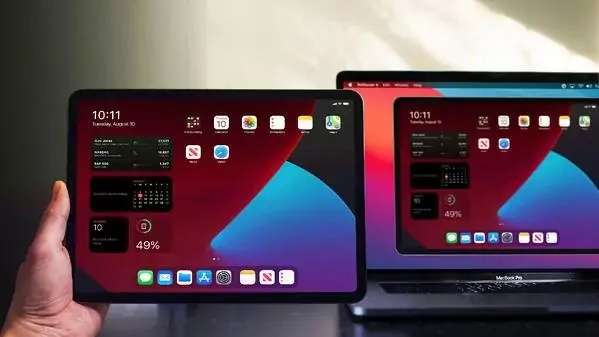
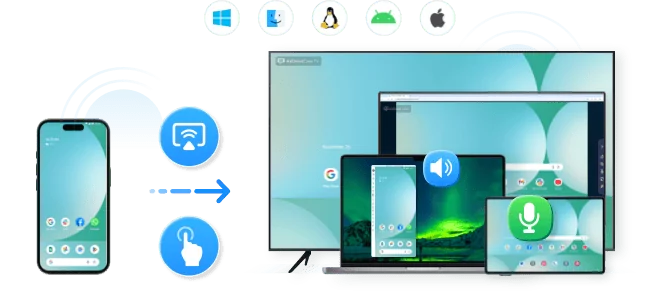
Thus, if you’re looking for the perfect alternative to WhatsApp Web, then AirDroid Cast is all you need. It lets you mirror your WhatsApp app from phone to computer, and control the app easiyl, such as sending messages, typing, and receiving messages. You can even use the two-way audio feature for listening and speaking.
- Step 1. Download and install AirDroid Cast on your phone and PC, and launch the app.
- Step 2. Then, enter the Cast Code on your Android and tap 'Start Casting'. Then accept the request on your PC.
- Step 3. Now, your phone screen will be mirrored to your PC. Click 'Turn on Control' on your PC to control the phone.
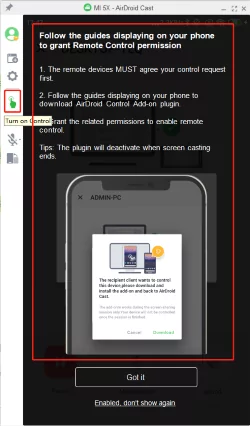
Now, you can handle all the WhatsApp messages and other notifications from your PC.
FAQs
We have gathered some important questions from users.
1. Can I use WhatsApp on BlueStacks?
Yes, all you need to do is BlueStacks WhatsApp download on your PC, search WhatsApp in its Play Store, and install it. Then, you can enjoy WhatsApp on BlueStacks without using your phone.
2. How can I use WhatsApp in BlueStacks without a phone?
The very aim of BlueStacks is to use Android apps on a PC without a smartphone. Just launch BlueStacks, open up Google Play Store, and download WhatsApp. Then, enter your phone number and activate WhatsApp with the activation code sent as an SMS to your mobile number.
Remember that you need to enter the code sent to your phone number to start using WhatsApp on BlueStacks.
3. Why WhatsApp is not working in BlueStacks?
Some of the common reasons include:
- A minor bug in the BlueStacks 4 WhatsApp app.
- Internet connectivity issues.
- Bug in your PC.
4. How can I use WhatsApp on PC without a phone?
Go to WhatsApp Web to see a QR code on the screen. Scan this code on your phone’s WhatsApp by going to WhatsApp settings>Linked Devices> Link a Device. Now, you can enjoy WhatsApp Web without a QR code and BlueStacks.
Final Remarks
With this article at your disposal, you won’t face any issues in how to use WhatsApp on BlueStacks. Now, using WhatsApp without a phone is at your fingertips. Similarly, you can rely on BlueStacks WhatsApp Web to use WhatsApp on both PC and smartphone.
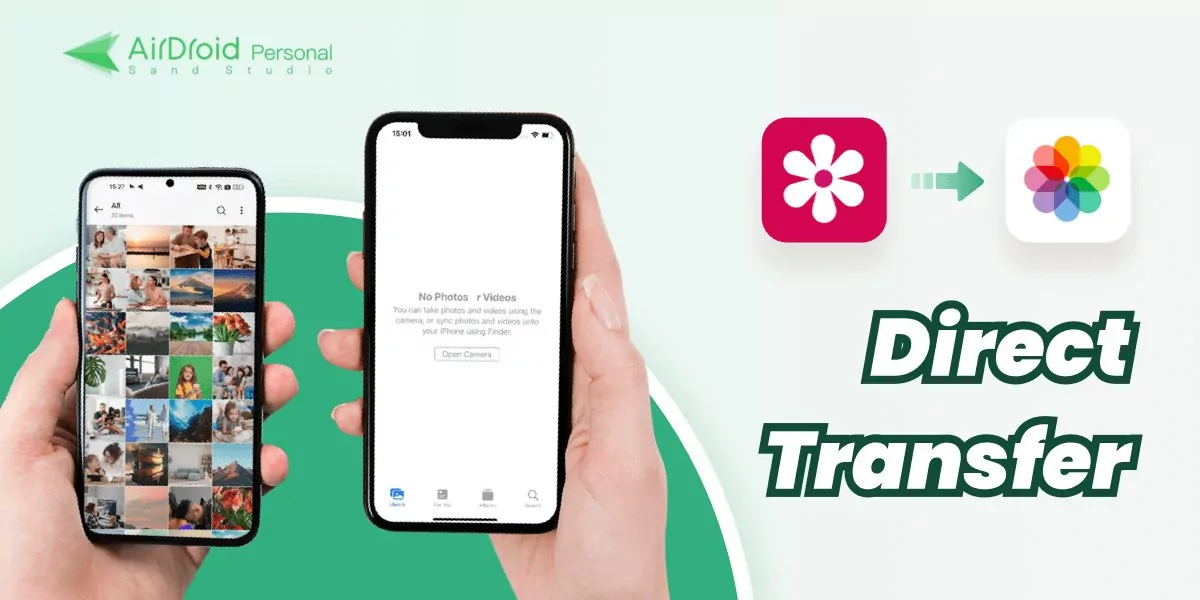
But as far as our recommendation goes, AirDroid Web is the perfect solution to use WhatsApp on a web browser as well as control all other phone notifications from your keyboard. Just install the premium version of the AirDroid Personal app on your phone and sync your devices with a single click.
Feel free to ask any questions.





Leave a Reply.