How to Go Live on Facebook?
Live streaming has been a marketing game-changer for businesses and influencers. They allow communicating with audiences in real-time to establish authentic relationships. This can also help you widen your customer base and earn more fans and followers.
Facebook is especially popular for this feature because of its ease of use. In this article, we’ll guide you through the steps of each method for going live on FB.
Basic Requirements for Facebook Live Streaming
Before learning how to go live on Facebook, you should know the main requirements. These requirements were recently updated by the platform and took effect on June 10th, 2024.
■ The Facebook account you want to use to go live must be a minimum of 60 days old.
■ The personal account or business page should have at least 100 followers.
Besides these, you’re also required to abide by the following limitations:
■ Do not lead people to believe that the live-streaming is happening at a location where it is not.
■ Lying that the footage is occurring in real-time when it is actually not is forbidden.
■ Pre-recorded content should always be marked with a pre-recorded label. This should also be clarified in the title of the live session.
■ No looping videos, static images or limiting the broadcast to polls.
How to Go Live on Facebook?
Initially, you could only go live on Facebook through a mobile or a PC. Read on to learn how to go live on Facebook.
How to Live Stream From Facebook on Phones?
Go live on Facbook via smartphone is quite easy for all of us. All you need is a phone and meet the Facebook live requirements.
Here are the steps:
- Step 1.Launch Facebook’s app on your mobile and open your feed.
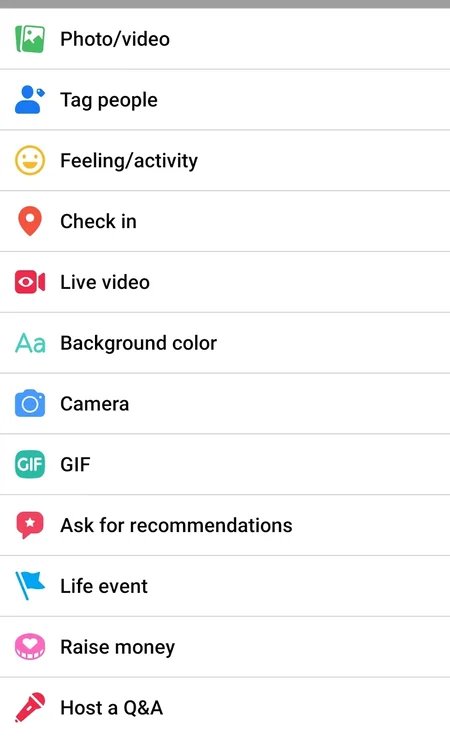
- Step 2.Tap the “What’s on your mind?” tab and select “Live Video” from the menu list.

- Step 3.Using the “Tap to add description” option, add some lines on what the broadcast is about. Here, you can also add feelings/activities or tag other pages or profiles.
- Step 4.You can even adjust the settings of the session using the options available at the bottom of the screen.
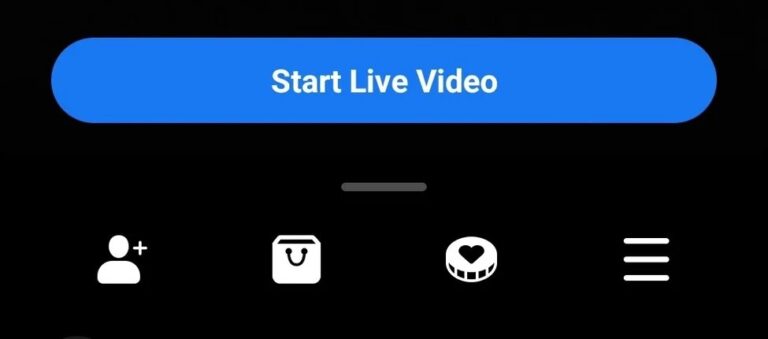
- Step 5.When you’re ready to begin the session, tap “Start Live Video.” To end the session, tap the “Finish” button.

How to Live Stream From Facebook on PC?
For people who pursuit a high quiality streaming, live stream on PC will be better. You can get started on the Facebook webpage easily.
- Step 1.Open Facebook on your computer’s web browser and log into your account.

- Step 2.Click on the “Live Video” option under the posting section of your homepage.

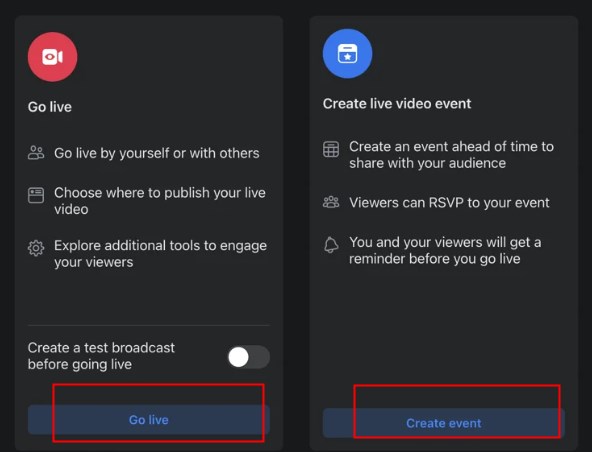
- Step 3.You’ll be presented with two options. You can either livestream on Facebook instantly or schedule an event beforehand. The latter option allows people to RSVP and set a reminder for you and the viewers.

- Step 4.After that, you can add a description, start time, and co-host to the session and adjust additional settings.
- Step 5.When you are satisfied with everything, you can start the live by clicking “Go Live.” The button is present on the bottom left corner of the screen.
For a high-definition live stream, we will recommend you to use some professional streaming software on your PC, like the Facebook's live streaming studio and OBS.
1Facebook’s Live-Streaming Studio
You can also go Live on Facebook using external video hardware. Here’s how to go live using Facebook’s streaming studio.
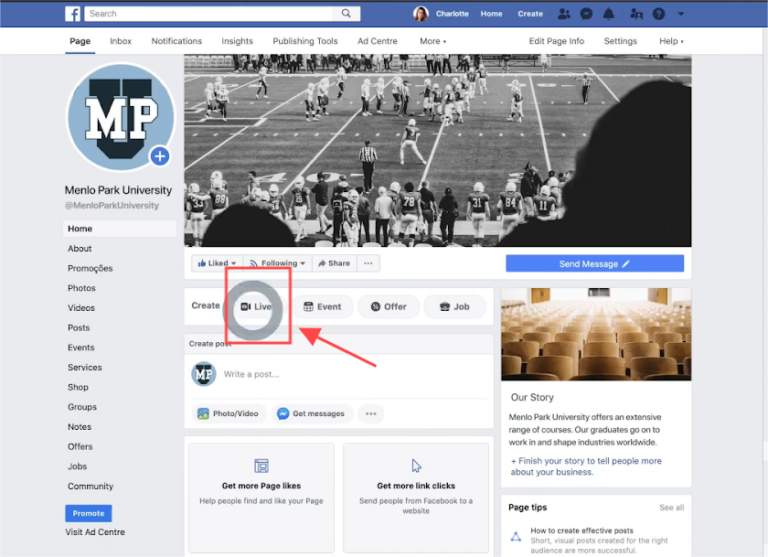
- Step 1.Go to your Facebook page and click “Create Live.”

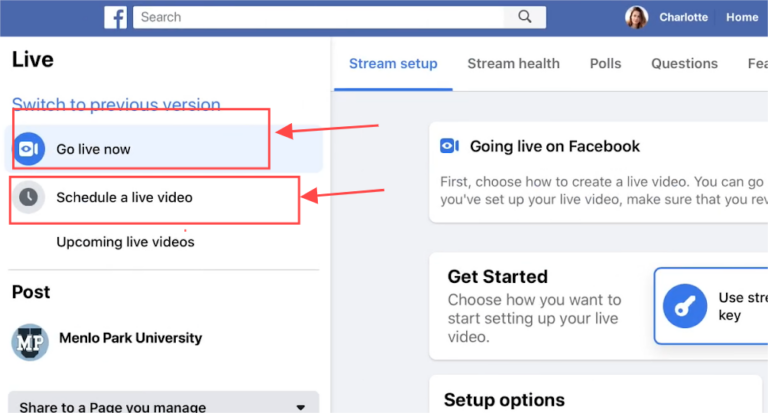
- Step 2.You’ll be given the option to go live instantly or schedule an event for later.

- Step 3.Then select the page you manage and where you want to share the live stream to.
- Step 4.Add the title of the live stream as well as a description. Here, you can also tag friends, check into a location, share feelings, etc.
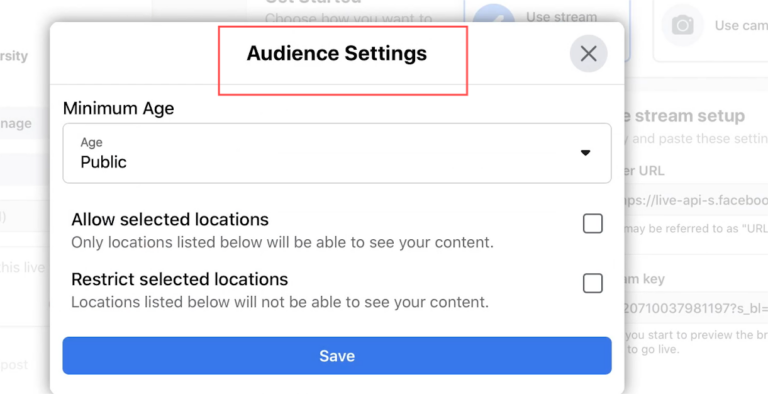
- Step 5.After that, select “Audience Settings” to set age and location restrictions for your stream.

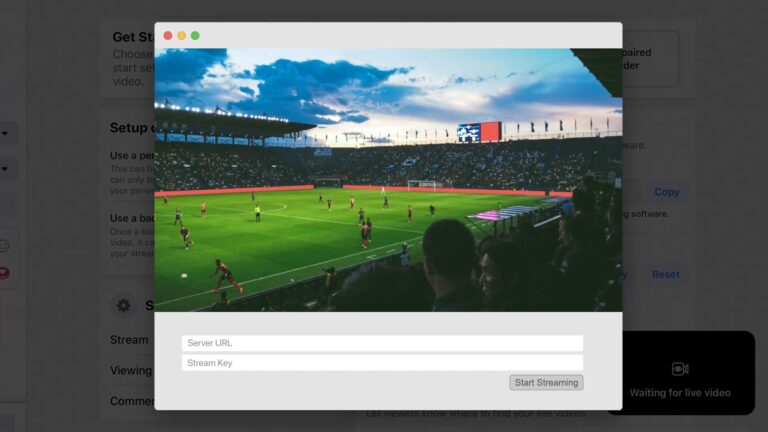
- Step 6.Go and copy the generated stream URL and stream key to paste into your encoder software. This is necessary for converting your video into a format that can be shared on Facebook in real-time.

- Step 7.Next, preview your video with the same stream URL and stream key before going live.
- Step 8.Once you’re satisfied with the preview, wait a few seconds for the “Go Live” button to become available. After previewing, you’ll have 5 hours to start the live. After that, the stream key will need to be regenerated.
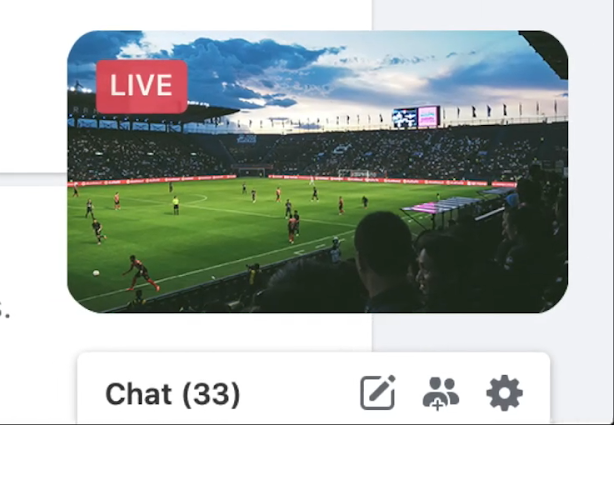
- Step 9.On activation, click the “Go Live” button to start your Facebook livestream. The red “Live” sign on the video will indicate that streaming has begun.

2A Third-Party Live-Streaming Software
Third-party live streaming software is used for Facebook live broadcasting to improve the quality of the stream. This allows you to use additional live features of the software during the session that aren’t available on Facebook. With third-party software, you also have more setting options to control, e.g., backgrounds, graphics, adding multiple guests, etc.
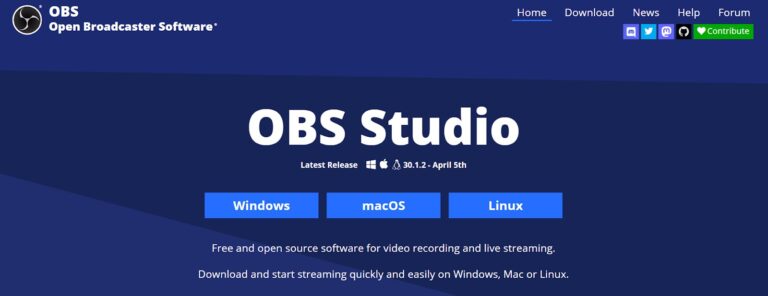
There are multiple streaming softwares for you to choose. In this specific case, we will using the OBS.
- Step 1.Install OBS on your computer and set it up with suitable encoder settings.

- Step 2.Next, connect the software to Facebook Live by going to “Settings” and clicking “Stream.”
- Step 3.Go to the “Service” menu list and select “Facebook Live.”
- Step 4.After that, open “Live Producer” in another window by selecting “Get Stream Key.” Then, navigate to the “Go Live” card and choose “Select.”
- Step 5.In this step, open the “Streaming software setup” module from the “Stream setup” tab to find your “Stream Key.”
- Step 6.Copy this key and paste it into OBS. Then, click “Ok.”
- Step 7.Click “Start streaming” to finally connect to Facebook Live. You’ll be able to see the preview in the “Live Producer” window.
- Step 8.Adjust any setting of the window that you want before finally starting the broadcast by clicking “Go Live.”
Tips to Enhance the Appeal of Your Live Streaming
Now that you know how to go live on Facebook using various methods, let’s talk about the stream itself. If you want to attract more people to your stream, here are some tips to make it appealing:
1Live Polls
Live polls are a great way to make your Facebook livestream more interactive. You can prepare the polls ahead of time and then share them during the stream. The results can be used to navigate your stream towards different topics.
2Live Comment Moderation
You want to avoid spam comments during your live session to make it less irritable for the audience. So, limit commenting to specific viewers or assign someone else the task to moderate the comments for you.
3Front Row
Appreciating your fans through shoutouts can encourage better engagement from other viewers. Using the front-row feature during your streams can help you with this. It will create a separate section highlighting your top fans so you can address them easily.
Conclusion
As a beginner business owner or influencer, attracting customers and fans isn’t an easy feat. Holding Facebook Live sessions can help with exposure and allow people to see the authenticity of your brand. That’s why knowing how to go live on Facebook is a must.
Keep to learn more live streaming tips to make your stream more appealing, and get your own success.



Leave a Reply.